
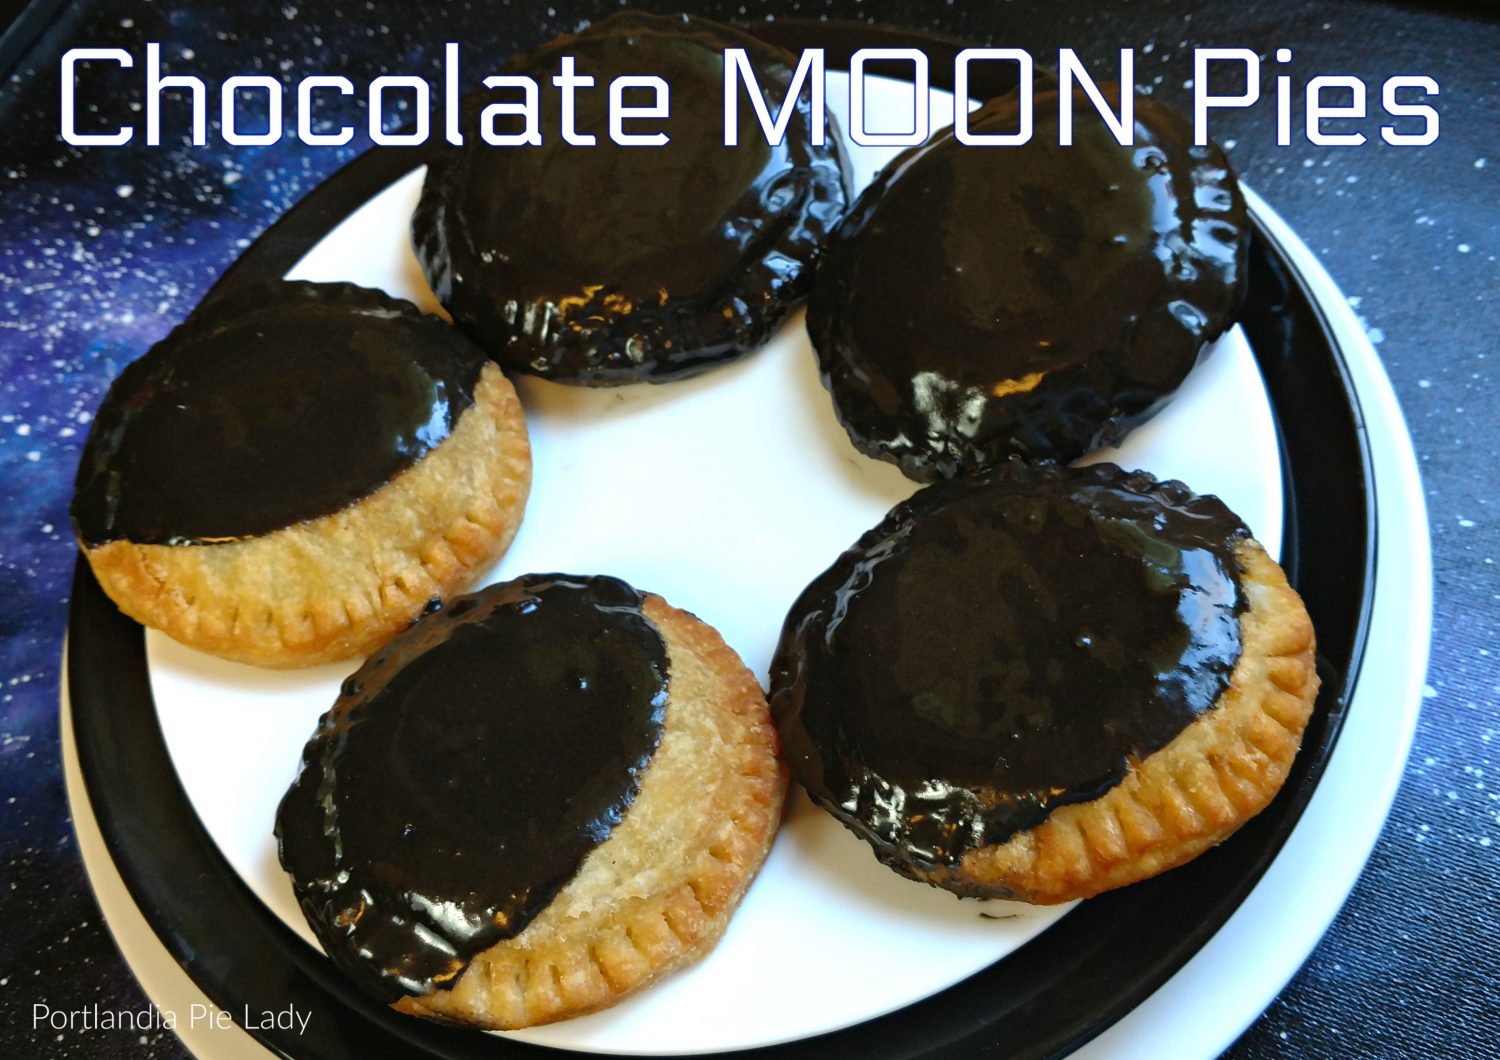
There is still time to add these delectable easy-to-make chocolate moon pies (hand pies) to your solar eclipse celebration that the entire world is fixated on. A friend of mine is calling it the solarpocolypse – and the thousands converging to the path of solar eclipse is seemingly as vast as the universe!
Regardless of where you will be taking in this breathtaking event, party food is a MUST.

Here are the easy steps: Make chocolate pudding. Make pie dough. Roll, cut, spoonful of pudding, bake or fried. Icing glaze. DONE!!!
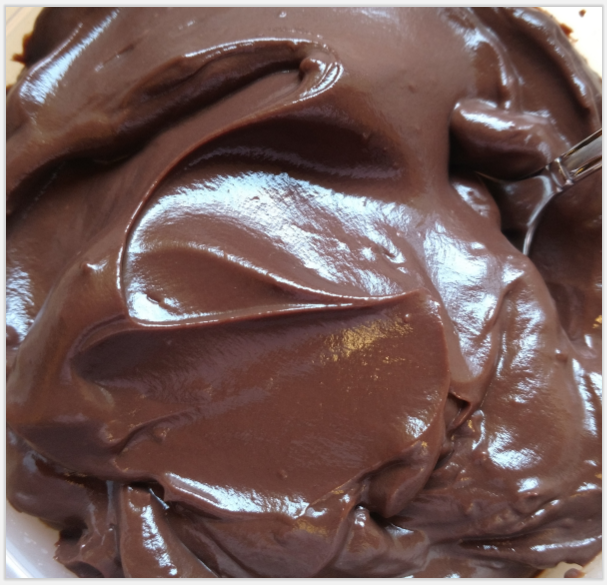
For the pudding (right after this picture was taken) I put plastic wrap pressed right onto the surface and popped it in the fridge; this keeps a skin from forming which would just get in the way of scooping for the hand pies.
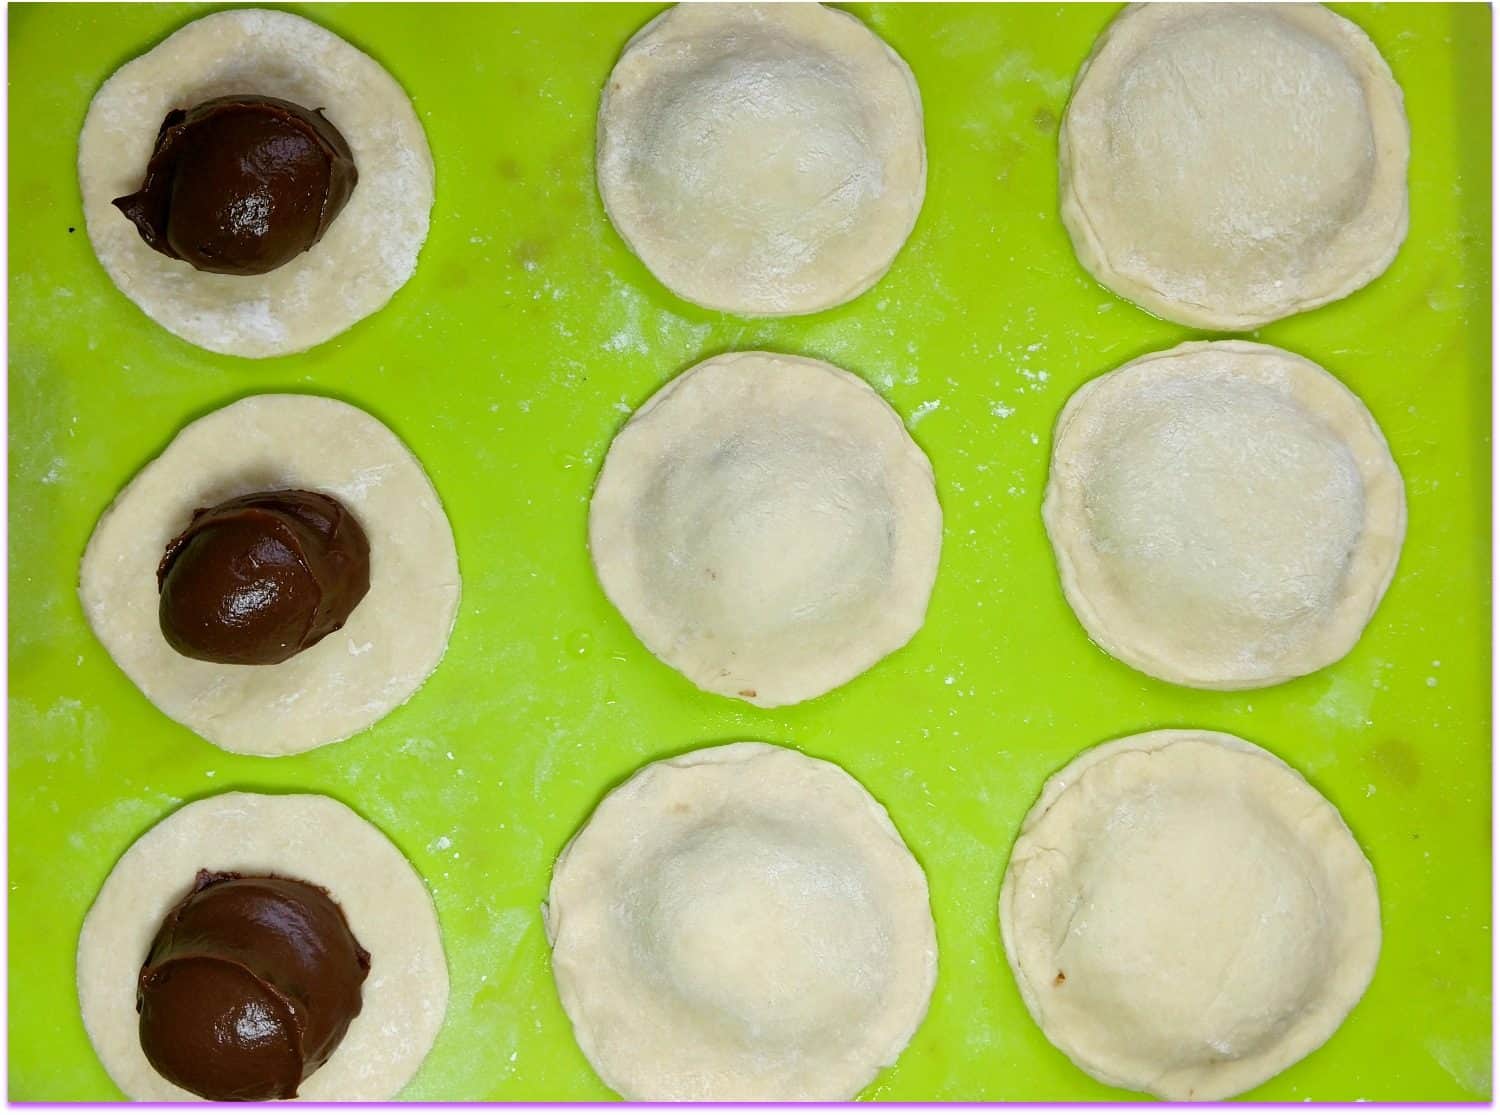
I used a 3-1/2-inch round cookie cutter (I didn’t want the pies to be too big). Left to right in picture below are the steps in making the hand pies. In the right column I had gently pressed down the centers & crimped the edges with a fork before frying. (We tried baked and fried and my taste testers liked the fried version just a little better.)
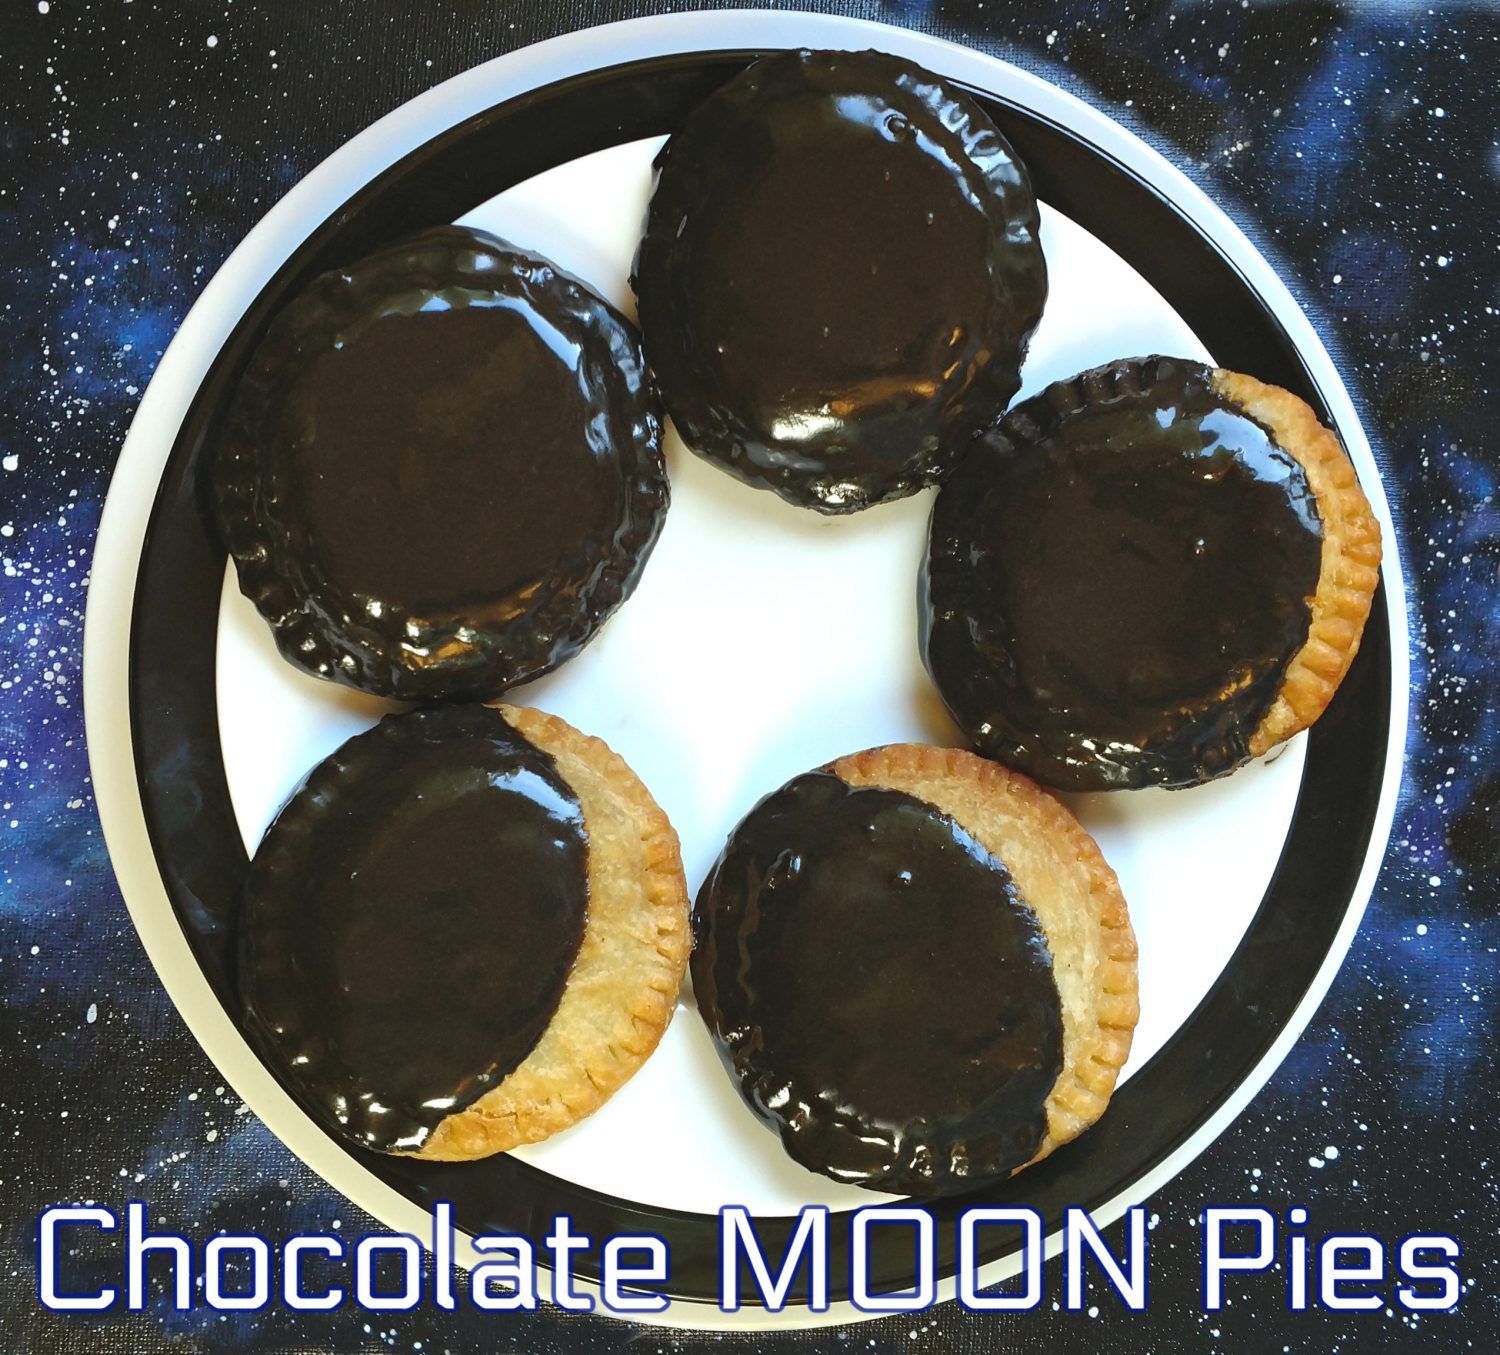
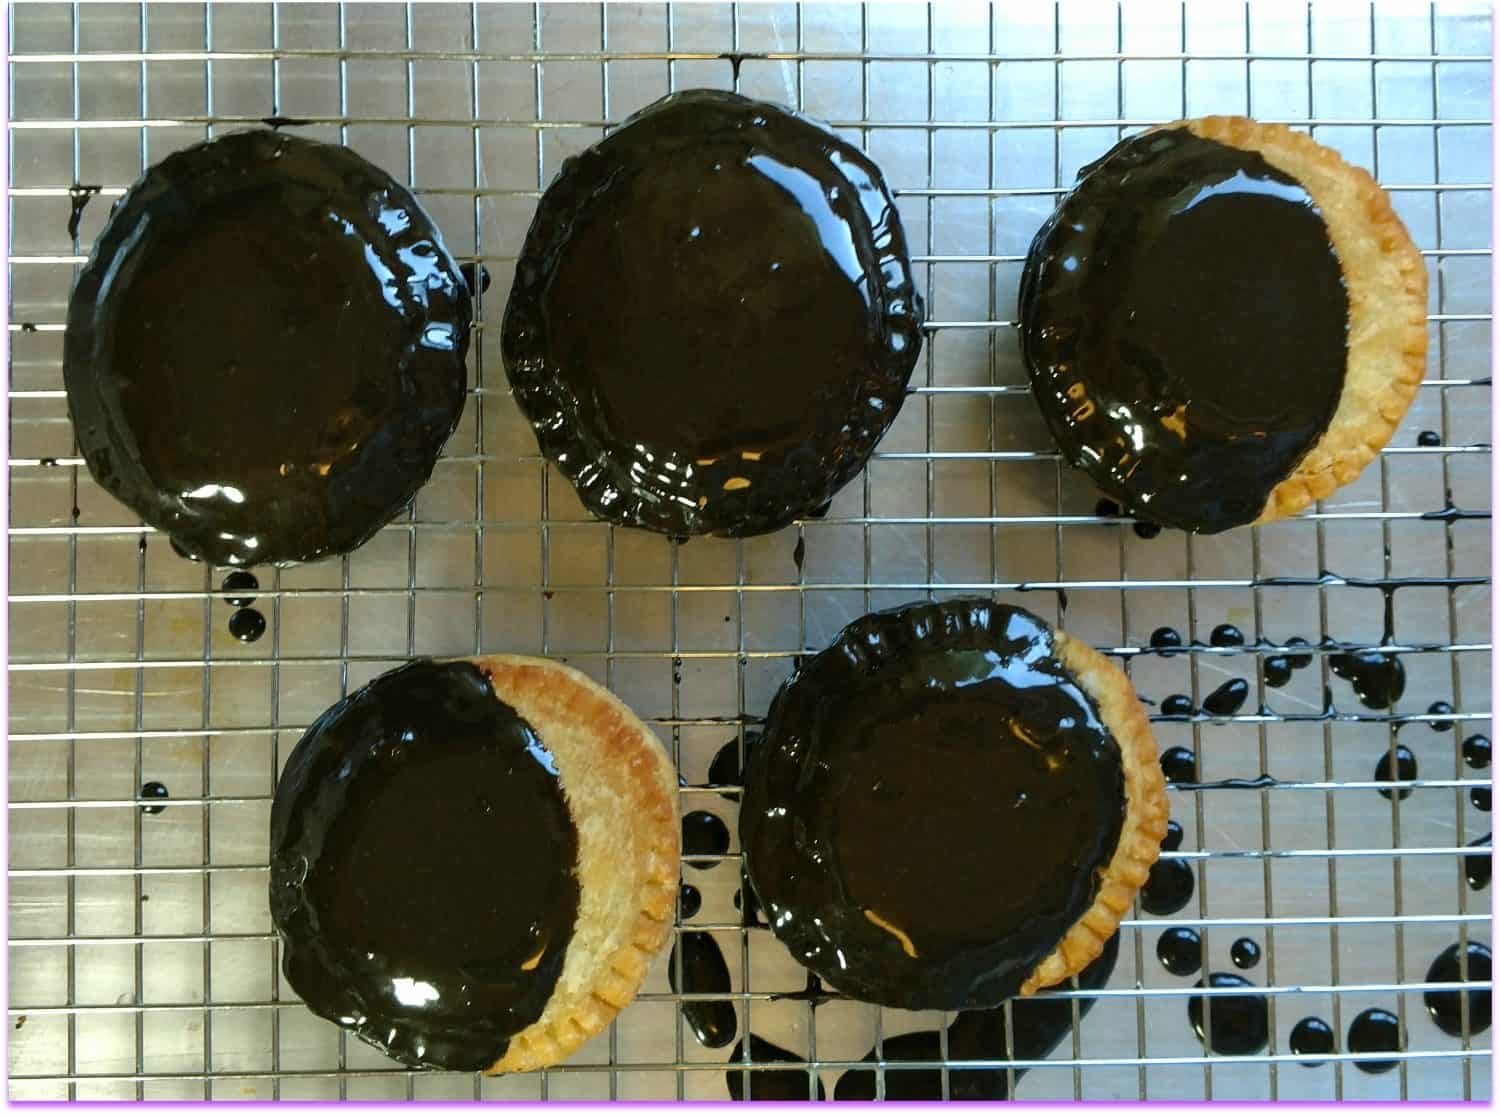
Once cooled from frying I made chocolate glaze and added a small amount of black food coloring, because it is going to be a total eclipse in parts of the world. However, depending on where you are, I did some partial-eclipse pies too.
So, get your eclipse glasses out, find your favorite viewing location, and munch down on these hand pies! Calories don’t count during a solar eclipse FYI!!!
If you are not wanting to make such a large batch of hand pies, click on the link for Chocolate Fried Hand pies. Same crispy fried hand pies, same decadent chocolate pudding, but much smaller batch.
Don’t forget to save the last hand pie for yourself!
Chocolate Moon Pies
Ingredients
Chocolate Pudding Filling
- 1/2 cup unsweetened dutch cocoa powder
- 1-1/8 cup sugar
- 1/3 cup cornstarch
- 3/4 teaspoon salt
- 1-1/2 cups milk (I used 1%, but 2% or Whole Milk is great)
- 1-1/2 cups half & half
- 2 tablespoons butter
- 1-1/2 teaspoon pure vanilla extract
- 1/4 cup semi-sweet chocolate chips
Buttermilk Fried Pastry Crust
- 6 cups all purpose flour
- 6 tablespoons pure cane sugar
- 1/2 teaspoon baking powder
- 1-1/2 teaspoon salt
- 2 cups shortening
- 1-1/2 cups buttermilk
- 3 eggs beaten
- 2 tablespoons water
Chocolate Glaze
- 2 cups pure cane powder sugar
- 2/3 cups unsweetened dutch cocoa powder
- 6 to 7 tablespoons milk
- 1 teaspoon vanilla
Instructions
Chocolate Pudding
- In a medium size saucepan, mix cocoa, sugar, cornstarch and salt, whisk well. Gradually add milk to dry ingredients in saucepan. Whisk until smooth and well blended.
- Cook over medium heat stirring constantly. Bring mixture to a boil and continue whisking while boiling for 1 minute, remove from heat.
- Add butter, vanilla, and chocolate chips. Whisk until chocolate and butter is melted.
- Pour pudding into bowl and cover with plastic wrap pressed onto surface to prevent skin. Refrigerate for 2 to 3 hours until cooled.
Buttermilk Fried Pastry Crust
- In a large bowl, mix all dry ingredients together. Add the shortening and cut in with a fork until crumbly.
- In a separate bowl, beat the egg with the buttermilk and water, pour into dry ingredients all at once. Stir just enough to form a ball. IF it feels like you are forcing it into a ball, you made need to add 1 to 2 tablespoons of water.
Fried Pie Assembly & Frying
- Roll out dough 1/8-inch thick. Using a 3-1/2-inch cookie cutter cut out the circles, 2 per moon pie.
- Place the bottoms for each pie onto parchment (easier to grab off parchment for frying).
- Place 2 to 3 tablespoons of cooled pudding onto each bottom crust. Brush water around edge of bottom dough. Gently stretch top crust over bottom, press edges down with fingers and crimp with fork.
- Heat deep fryer to 375 F, or use skillet and heat oil over medium-high heat. If it starts to smoke, remove pan from burner, let cool until stop smoking. Lower the heat and place pan back on burner. You can place a small piece of scrap crust into hot oil to be sure it is hot enough, dough should start sizzling immediately.
- Fry for about 1-1/2 minutes on each side in hot oil (if using fryer total time is still 1-1/2 minutes per side. If you prefer to bake, brush tops with a beaten egg or milk & bake in oven for 20-22 minutes at 425 F. Drain on paper towel (or cool from oven).
- Mix all chocolate glaze ingredients together and dip in pies to glaze (Makes 20 – 24 moon hand pies)


Hi! Im hoping to make these for Halloween. Will the glaze crust over enough to transport in a bakery box leaning against the others? Im guessing its a softer glaze like on a doughnut. Thanks! Love your content
Okay, here is the best way to transport these as far as icing. If you ice the fried pies while they are ever so slightly still warm the glaze will harden better. I use the same glaze on Pumpkin Hand Pies while still warm, and let them cool 100% before stacking them. I have not had a problem with any icing sticking as there is no fat in it (no butter or shortening). However, to be on the safe side, layer them flat (like an open box from Costco, those heavy duty ones drinks or produce come in. Then put a sheet of wax paper or parchment paper, put on next layer. This should do it!
“This is a Must have in the hand!!”
Crust that melts in your mouth and chocolate goodness !! Looking forward to making many of these
Mini Chocolate LOVE in the hand!!