
Oh Behave!
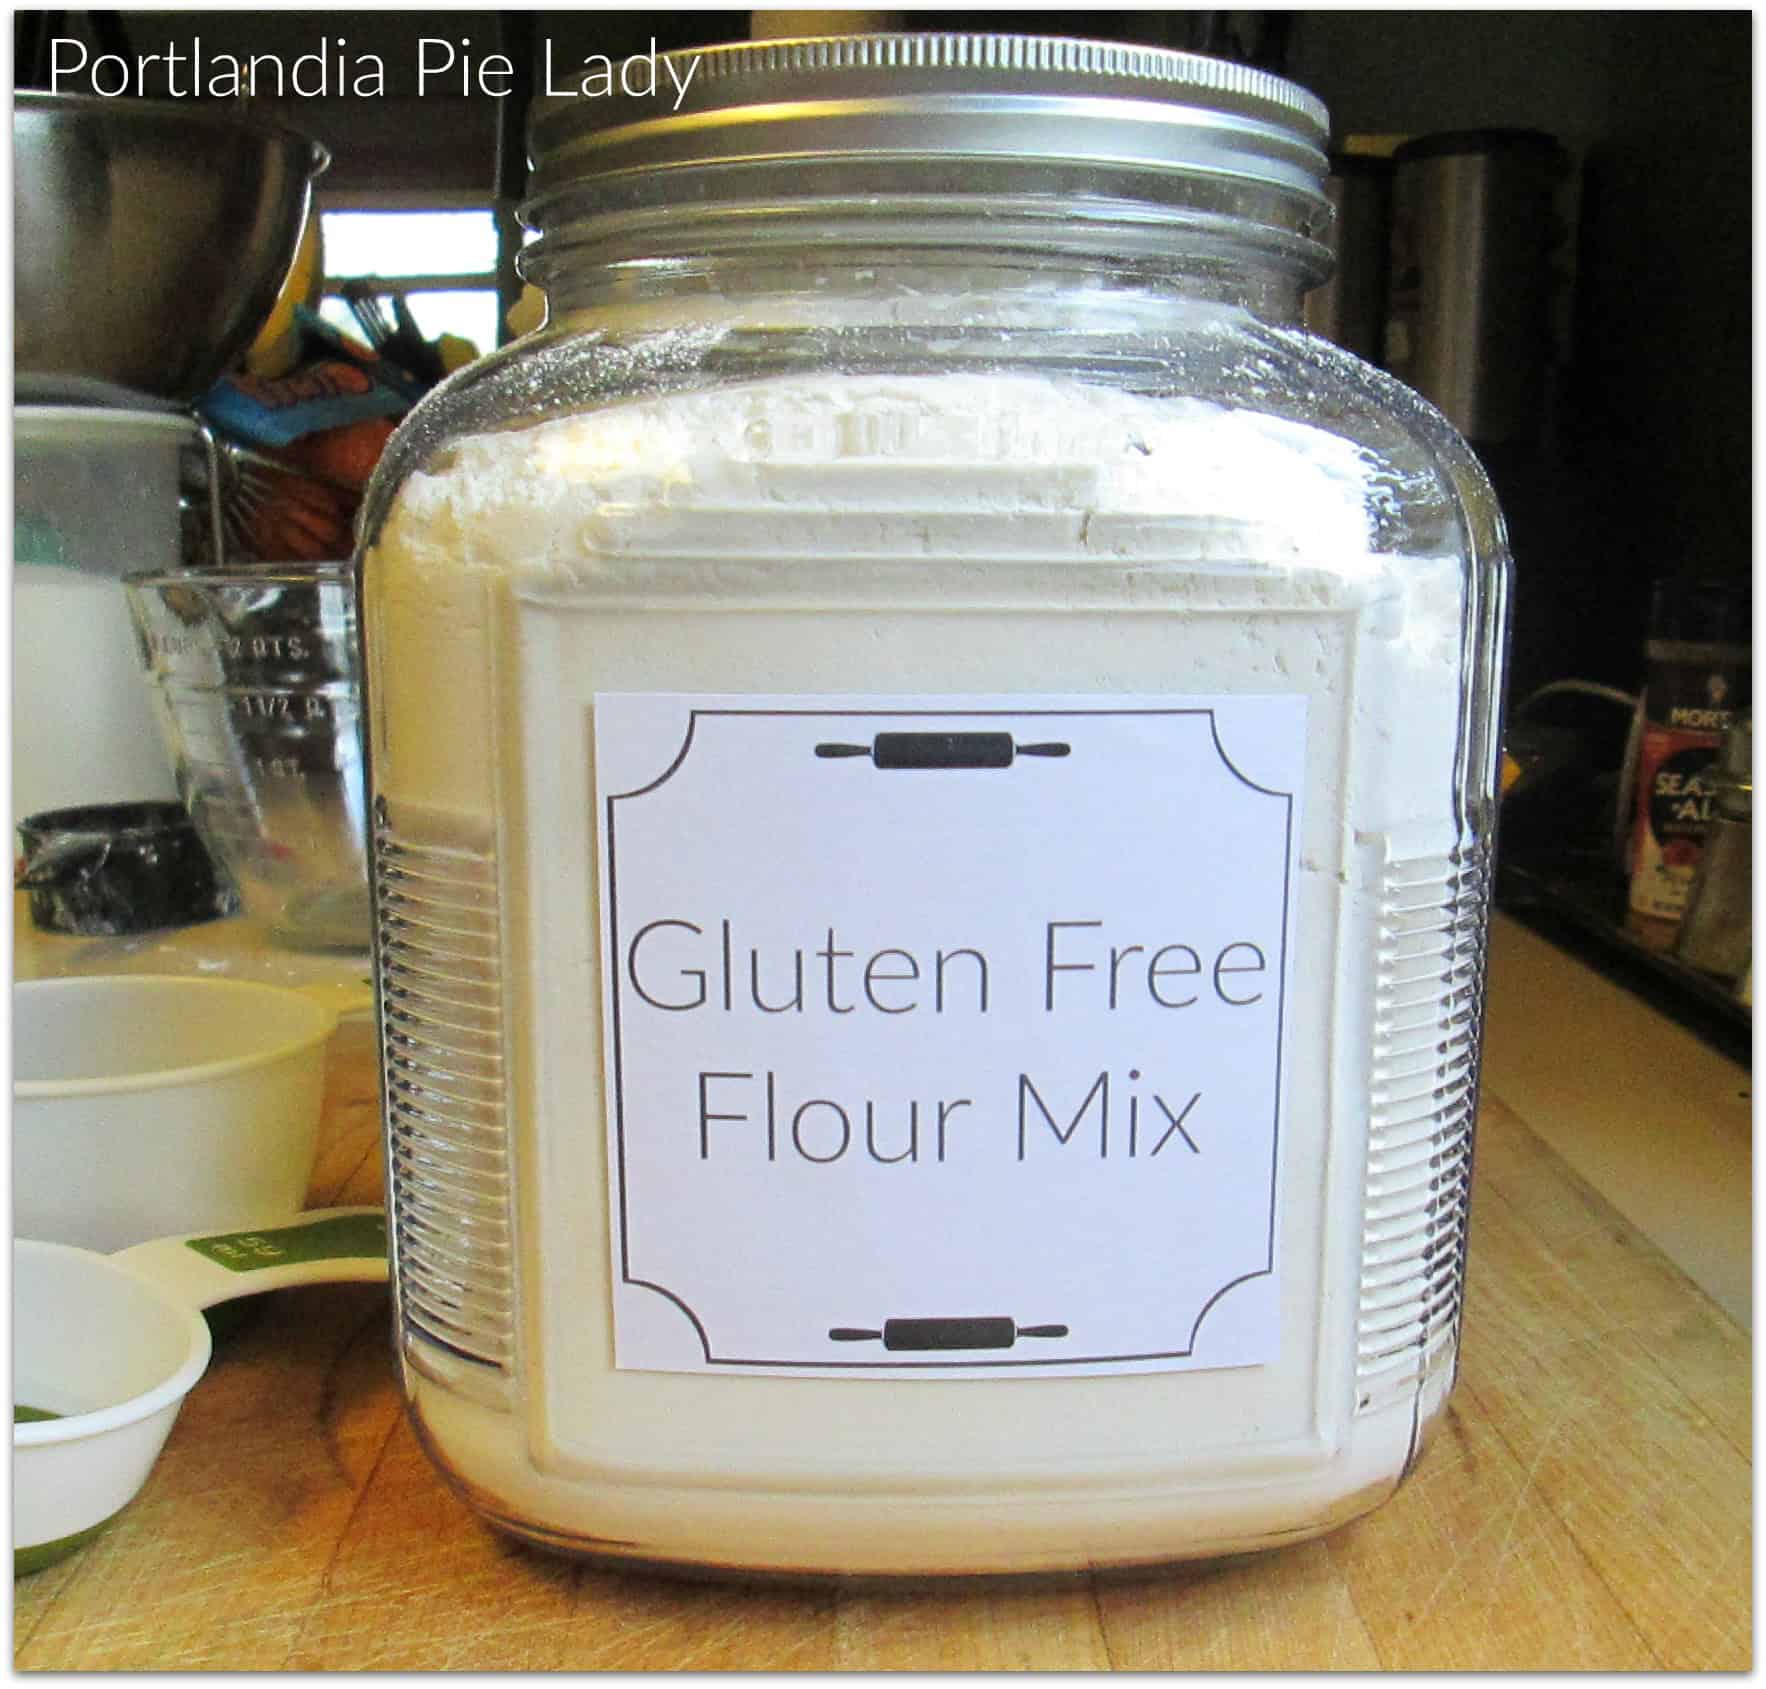
Gluten Free Pie Crust with my Gluten Free Flour Mix has been life changing. When I developed this there really was not many (maybe one) that existed at the grocery store. So, I keep this on hand for when I can’t get the brand I want. This most similarly matches King Arthur Measure for Measure Gluten Free Flour.

I have put together a TUTORIAL for you after much sorrowful days of “not so good” gluten free pie crusts. I have spent years baking gluten-free crusts that have had the toughness of granite and the texture of sand. Some creations I swear could not be cut with a Ginsu Knife, chainsaw or the Jaws-of-Life. I have even thrown out an entire pie plate with a baked gluten free crust seemingly melded to the glass. This is the BEST and easiest GF crust I have ever made!!
You are going to be so thrilled and over-joyed because this gluten-free creation behaves nearly like its glutinous counterpart. I sincerely empathize with you as my tolerance for my beloved wheat grows weaker every year. This crust is the Jedi Master of the gluten-free pie crust world.
In addition, no refrigeration is needed before placing it in the pie plate and baking. Instant gratification! Gluten-free crust on the fly!

The first thing you will need to do is make a batch of the all-time best-ever Gluten Free Flour Mix. I use premium ingredients, and I do love Bob’s Red Mill, products for making the mix (Bob’s Red Mill is a company here in Oregon), but you can use any brand of the specific ingredients to make your own.
There are only a few ingredients in this gluten free mix which are easily catered to your individual needs. Therefore, if you are allergic to tapioca, substitute it! The flour substitutions will not affect the integrity of the mix. That’s a huge win!
I have also made cupcakes and muffins with this mix. I never tell the non-GF people that they’re GF, but I do once they rave over them. It’s the mindset of some non-gluten free folks that need convincing; gluten free baking is not tasteless.
Here are the easy-to-follow instructions:

If your butter is cold, cut into cubes. Using a large fork, cut the butter into the flour mix. until it is pea-sized and crumbly. I sometimes will just my hands if making a small batch.

Once you add the water, mix it just until it forms a ball (do not knead). When you roll it out you should still be able to see the pieces of butter. Those pockets of butter pieces are what gives the pie crust the flaky layers. Therefore, do not overwork the dough. As the dough can simply be pushed back together in the pie plate, there is no need to re-rolling.

For this tutorial I made a single crust pie shell. Instead of trimming off the edges, let them stay an extra half inch or so larger than the pie plate. Use your fingers and tuck under the edges before crimping the crust. This will give you more pie dough to work with. I use this technique on many of the pies I bake, especially gluten free.

You can now simply fill your pie shell with your filling of choice and bake as directed. Yes, you can also blind bake for recipes which call for that. You can also freeze the unbaked shell for a future pie. Because I am very wary of cross contamination, I usually try to make a couple extra pie shells to freeze for the future. Hence, I have gluten free-only baking days.
If you are baking with a double crust, use an egg white wash to seal the edges, tuck under edges and crimp as above.
Below is a sample of an egg wash, simple milk an sugar, and good old plain crust. (1. Egg Wash. 2. Milk & Sugar. 3. Plain. 4. Baked crust.)

Whatever luscious pie you decide to create, don’t forget to save the last slice for yourself!
Gluten Free Pie Crust & Flour Mix
Gluten Free Flour Mix enables you to convert nearly all recipes for your gluten free needs in a one-to-one replacement!
15
minutes4-1/2
cupsKeep the screen of your device on
Ingredients
- Gluten Free Flour Mix
1 cup brown rice flour
1/2 cup white rice flour
1 cup SWEET rice flour (sweet rice is a glutenous rice flour, do not substitute white rice flour)
1-1/4 cups tapioca starch
3/4 cup Arrowroot starch (potato is a heavier starch than arrowroot, but can be substituted)
1 teaspoon cream of tartar
2 teaspoons xanthan gum (level teaspoons, no extra)
- Gluten Free Pie Crust
2 cups gluten free flour mix
1 cup butter, cold, grated
2-3 tablespoons sugar
1/8 teaspoon baking powder
1/2 teaspoon salt
1/2 cup cold water (may need to add 1 to 2 tablespoons extra)
Directions
- Gluten Free Flour Mix
- In a large bowl, stir together all ingredients until very thoroughly combined.
- Store in an airtight container in a cool place.
- Gluten Free Pie Crust
- In a large bowl, mix dry ingredients together. With a large fork cut in the butter until the mixture is crumbly, but you can still see small bits of butter.
- Add water and mix just until it forms a ball (do not knead).
- With extra cornstarch (or other starch) on a large piece of wax paper or parchment paper, roll out half the dough for the bottom crust. Invert onto a 9-inch pie plate and peel off the paper. If the dough tears or breaks, simply push it back together with your fingers. It's that easy.
- Crimp edges by hand or fork, or design of choice for single crust. For double crust, add fillings, brush edges with an egg wash (1 egg beaten with 1 tablespoon water), place on top crust, & bake as directed with pie you’re making. Use the egg wash on top for a color, as GF crust will not darken or turn golden when baked.












I’ve tried other gluten free pie crust recipes with lackluster results, but this one is fantastic! Thank you so much! My waistline thanks you too, because now the rest of the family is happy to eat it as well.
It’s part ratio, part the butter (which helps with the taste/flavor), and the leavening in the crust recipe. April you are my new BEST FRIEND. Thanks for your kind words.