
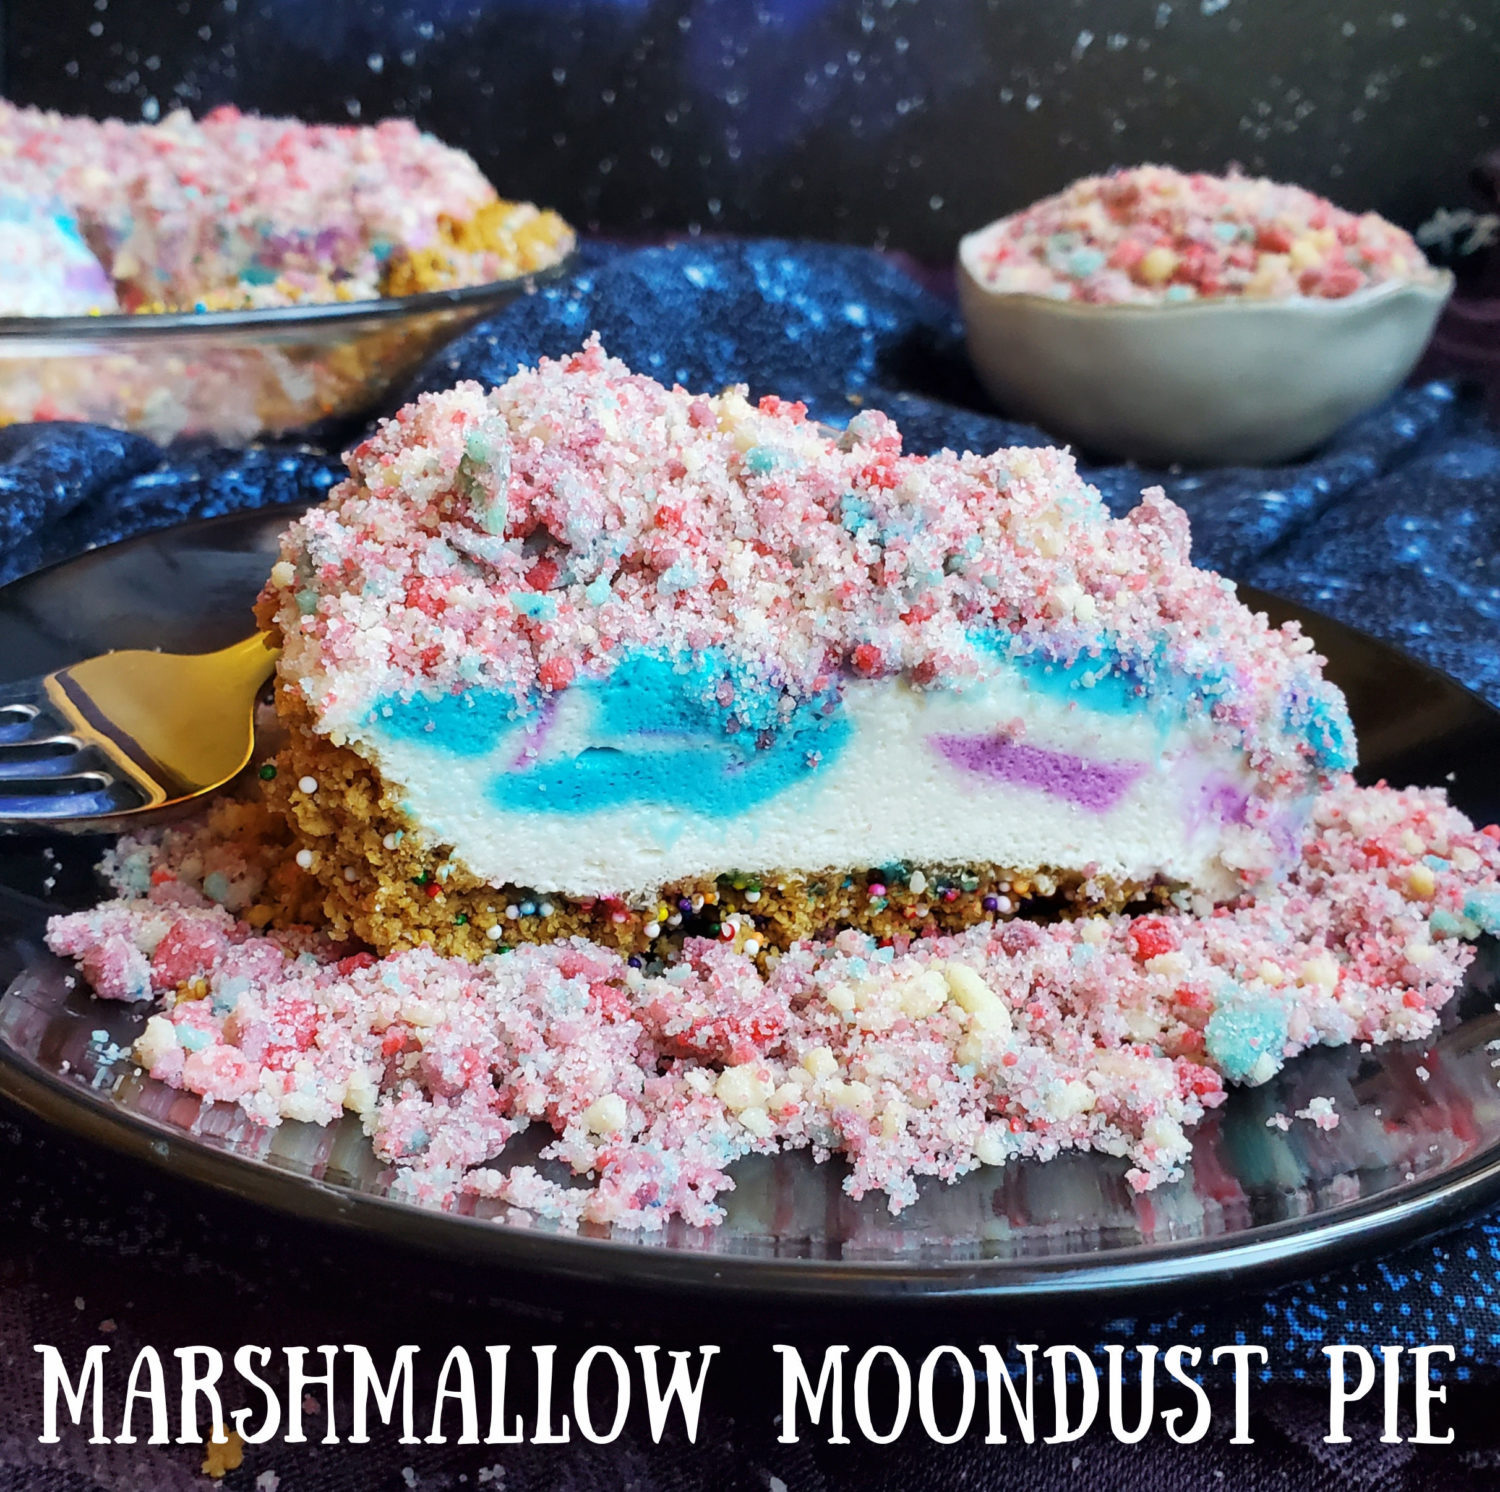
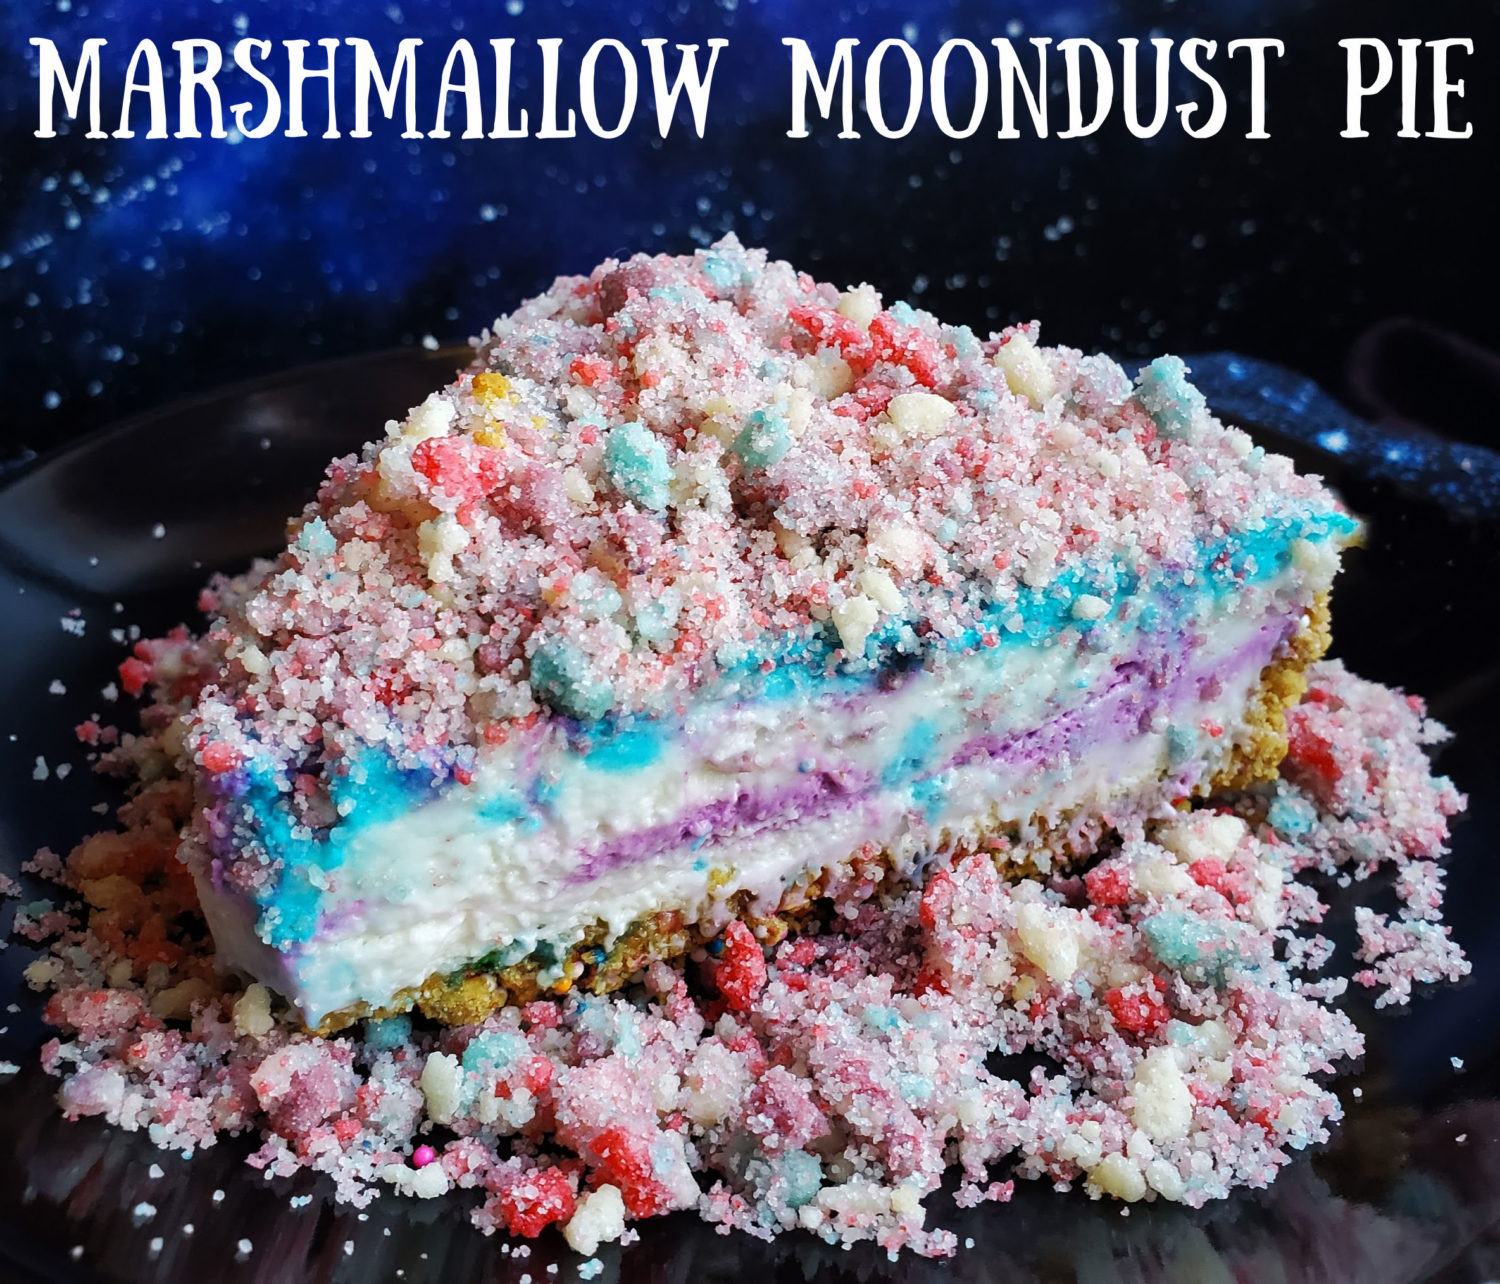
Marshmallow Moondust Pie; marshmallowy whipped creamy topped fruity moondust crumbles. My friend’s adorable little boy exclaimed “So THIS is what moondust tastes like!” He then proceeded to finish devouring his fluffy slice of pie. If only moondust really tasted this fruity-licious!
Let me tell you though, creating this intergalactic pie felt more like playing. So, I kept the fun theme going with pictures. I am feeling a galaxy party coming on!

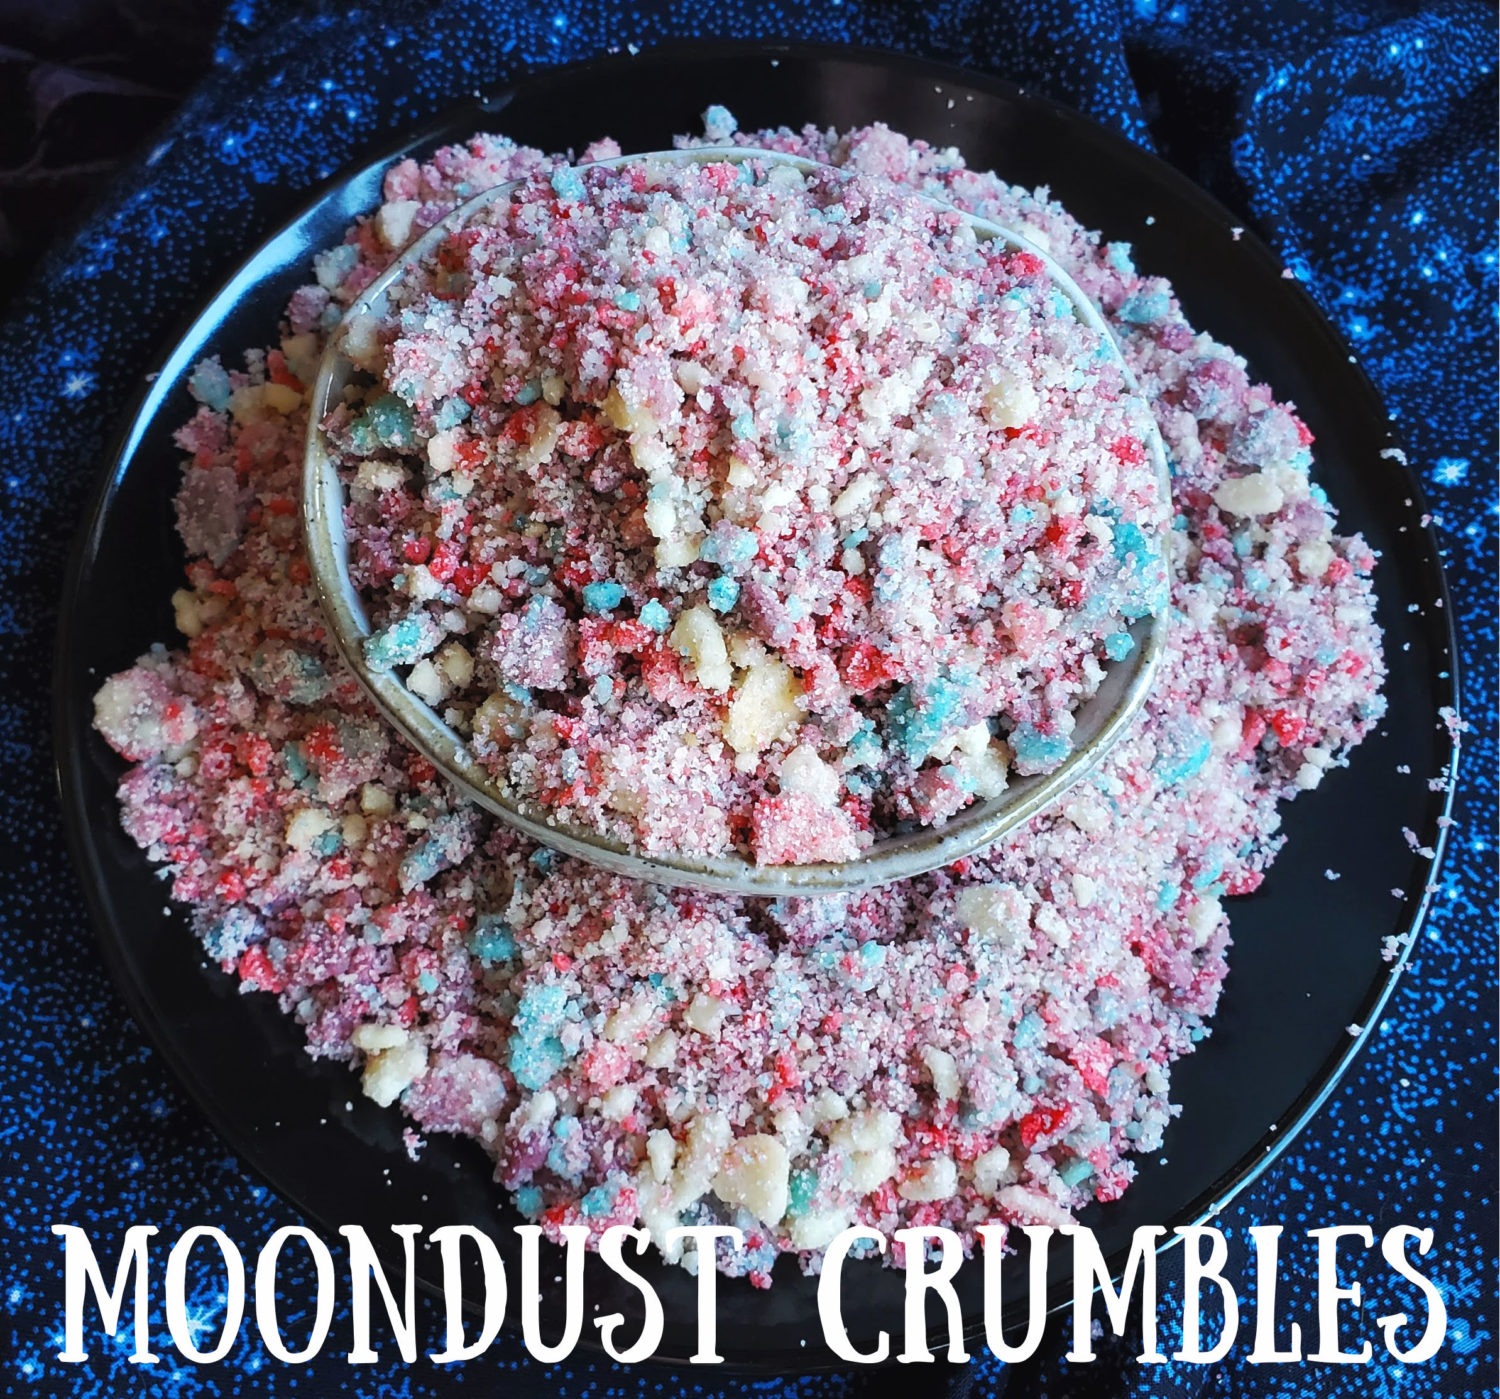
The moondust crumbles are mix of three flavors of dry gelatin powder, grape, blue raspberry, and strawberry. Of course I added a vanilla flavor too to lighten up the moondust magic. For the vanilla you can use dry pudding mix or flour/sugar; instructions for both are in recipe below. For pictures of the process click on Strawberry Shortcake Crumbles. Same process, just different flavors.
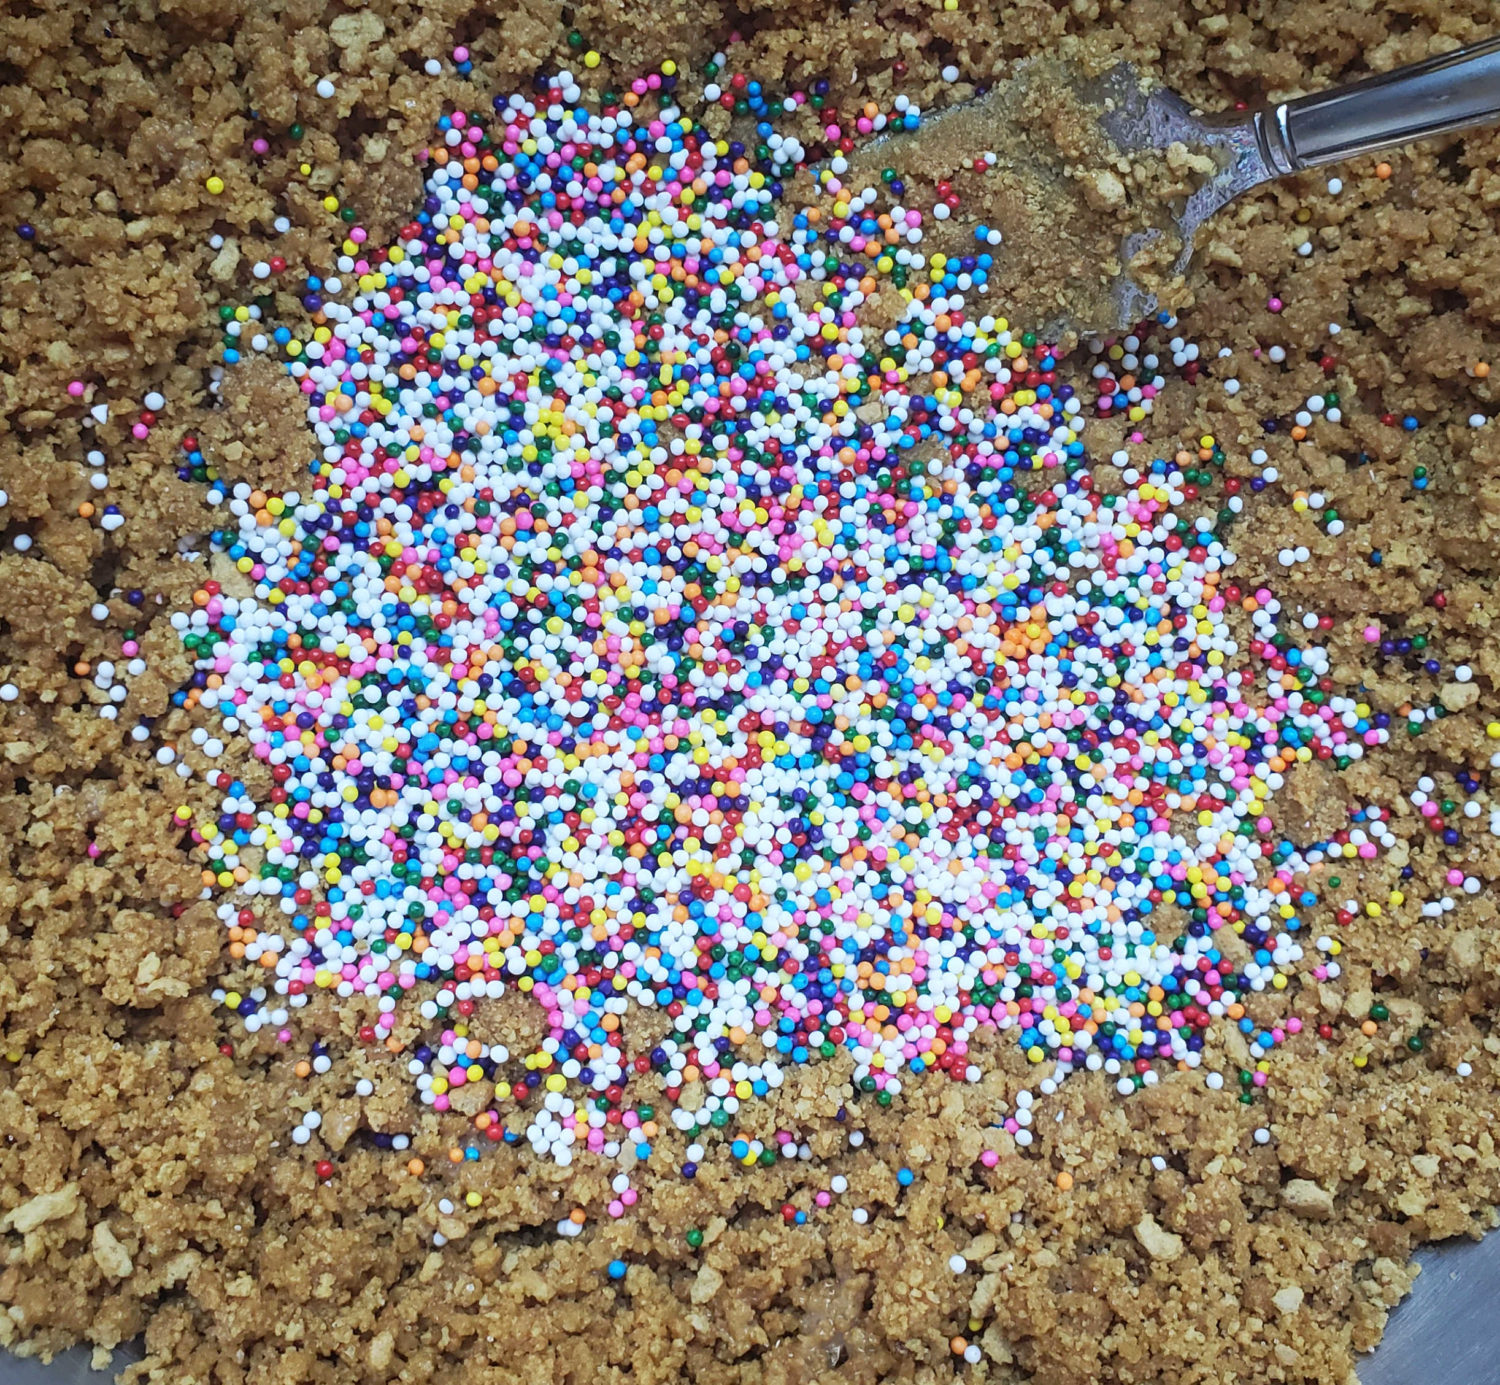
If you are making your own graham crust may I suggest adding some sprinkles? They give a nice candy crunch to the creamy marshmallow filling. My daughter said it reminded her of Mother’s Animal Crackers. However, no animal crackers were harmed for this pie.
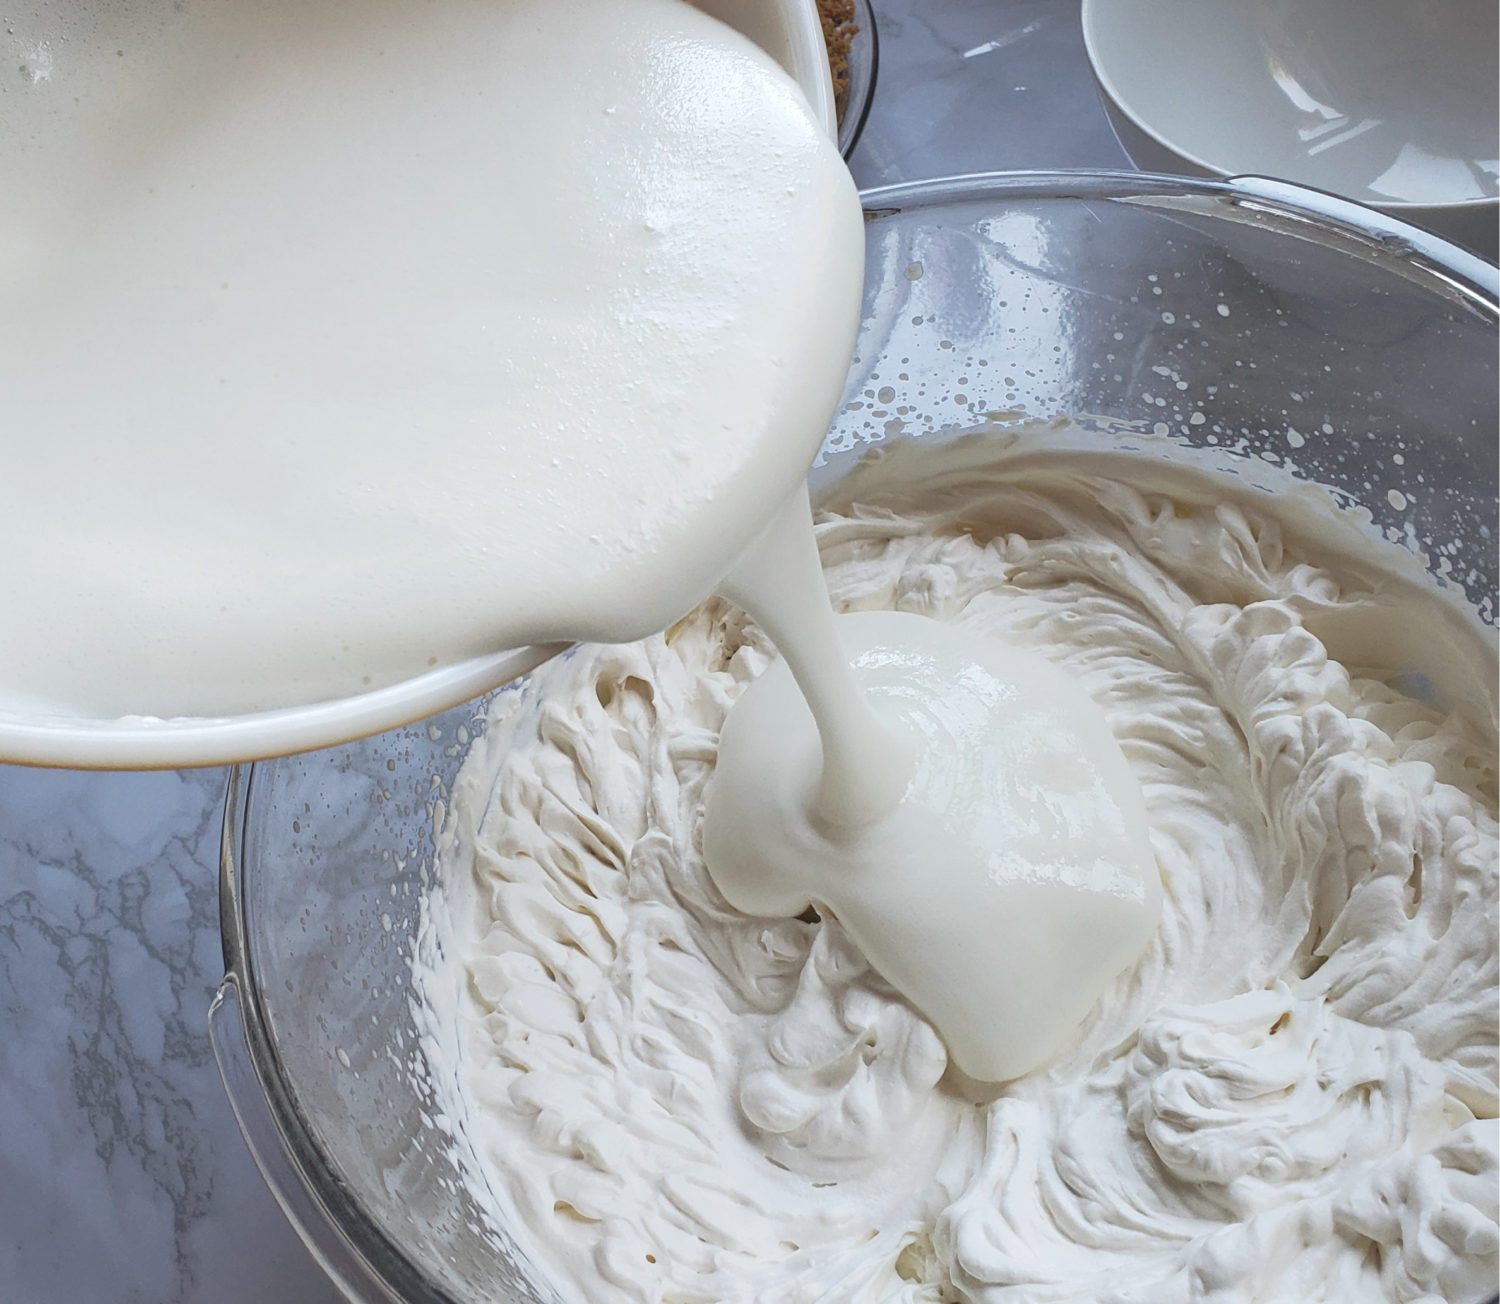
The filling is simply milk and an entire 10 ounce bag of mini marshmallows and whipped cream. The mini marshmallows are melted with the milk at medium to low heat. While it cools off, make the whipping cream and then fold it all together.
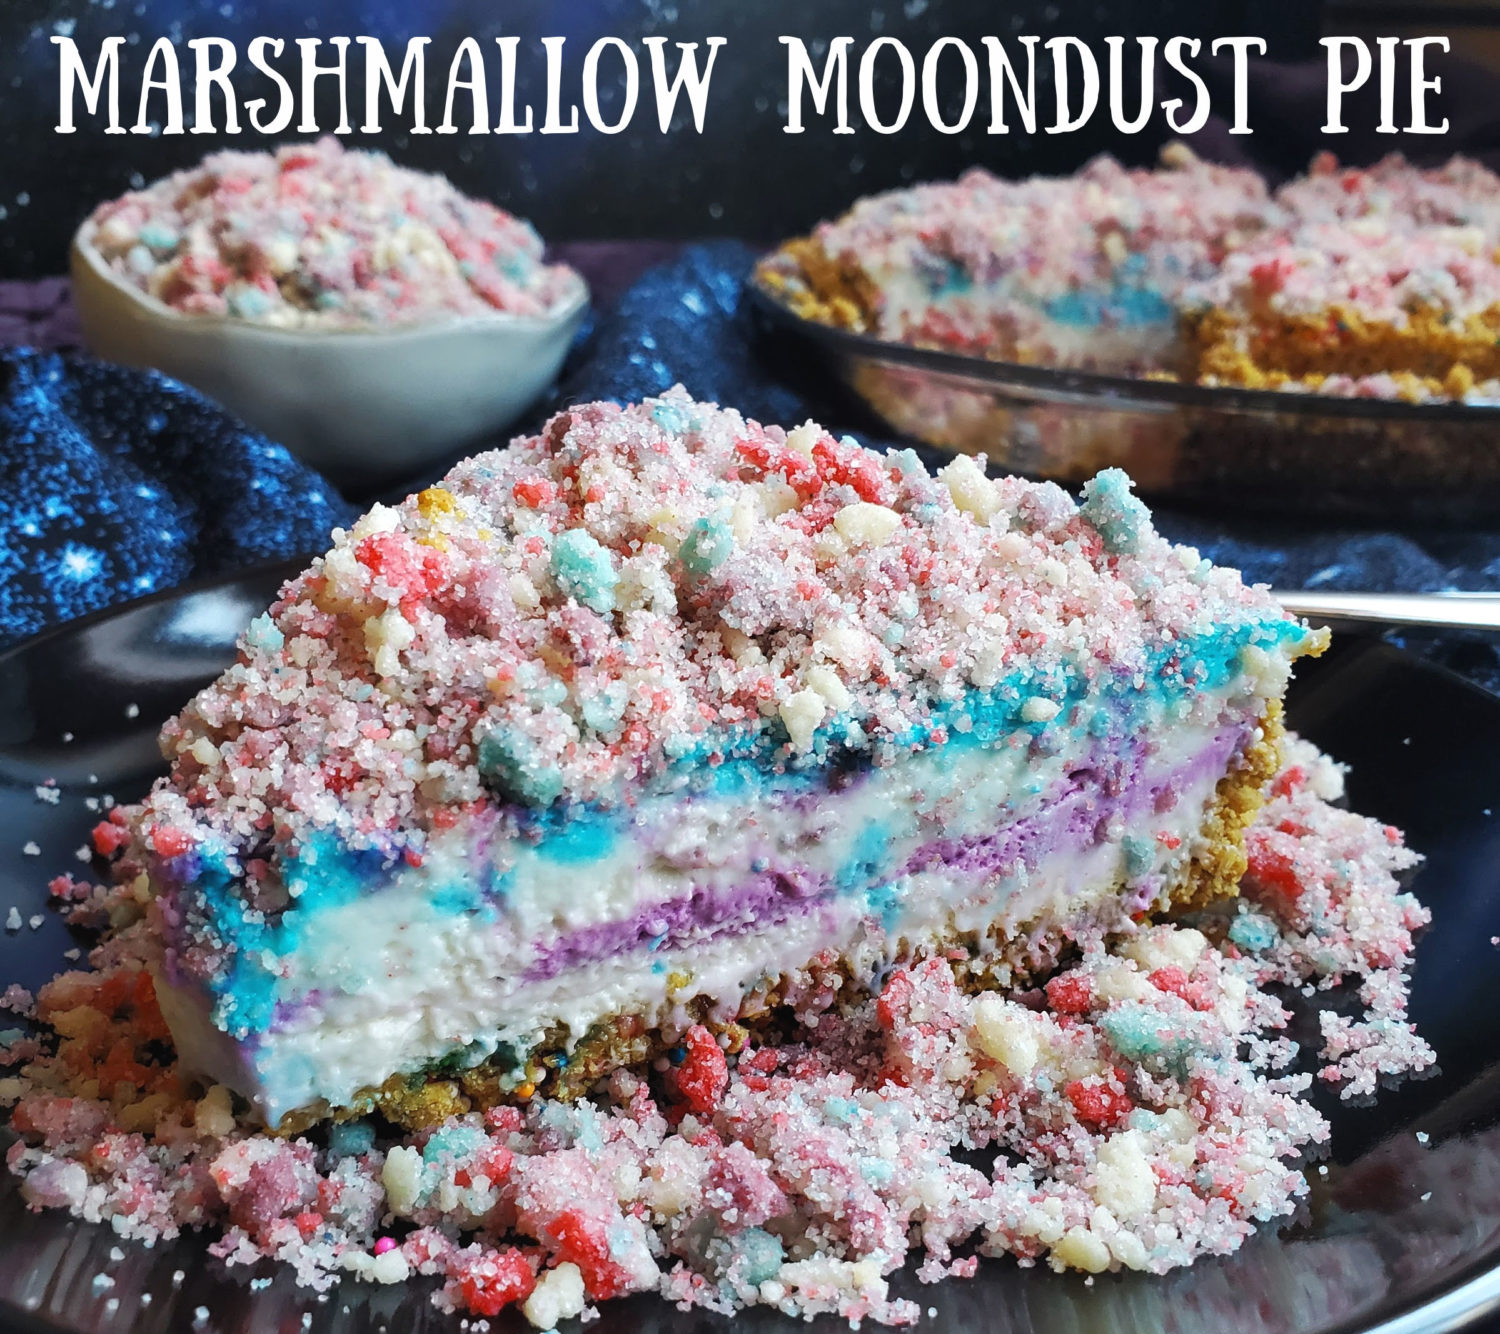
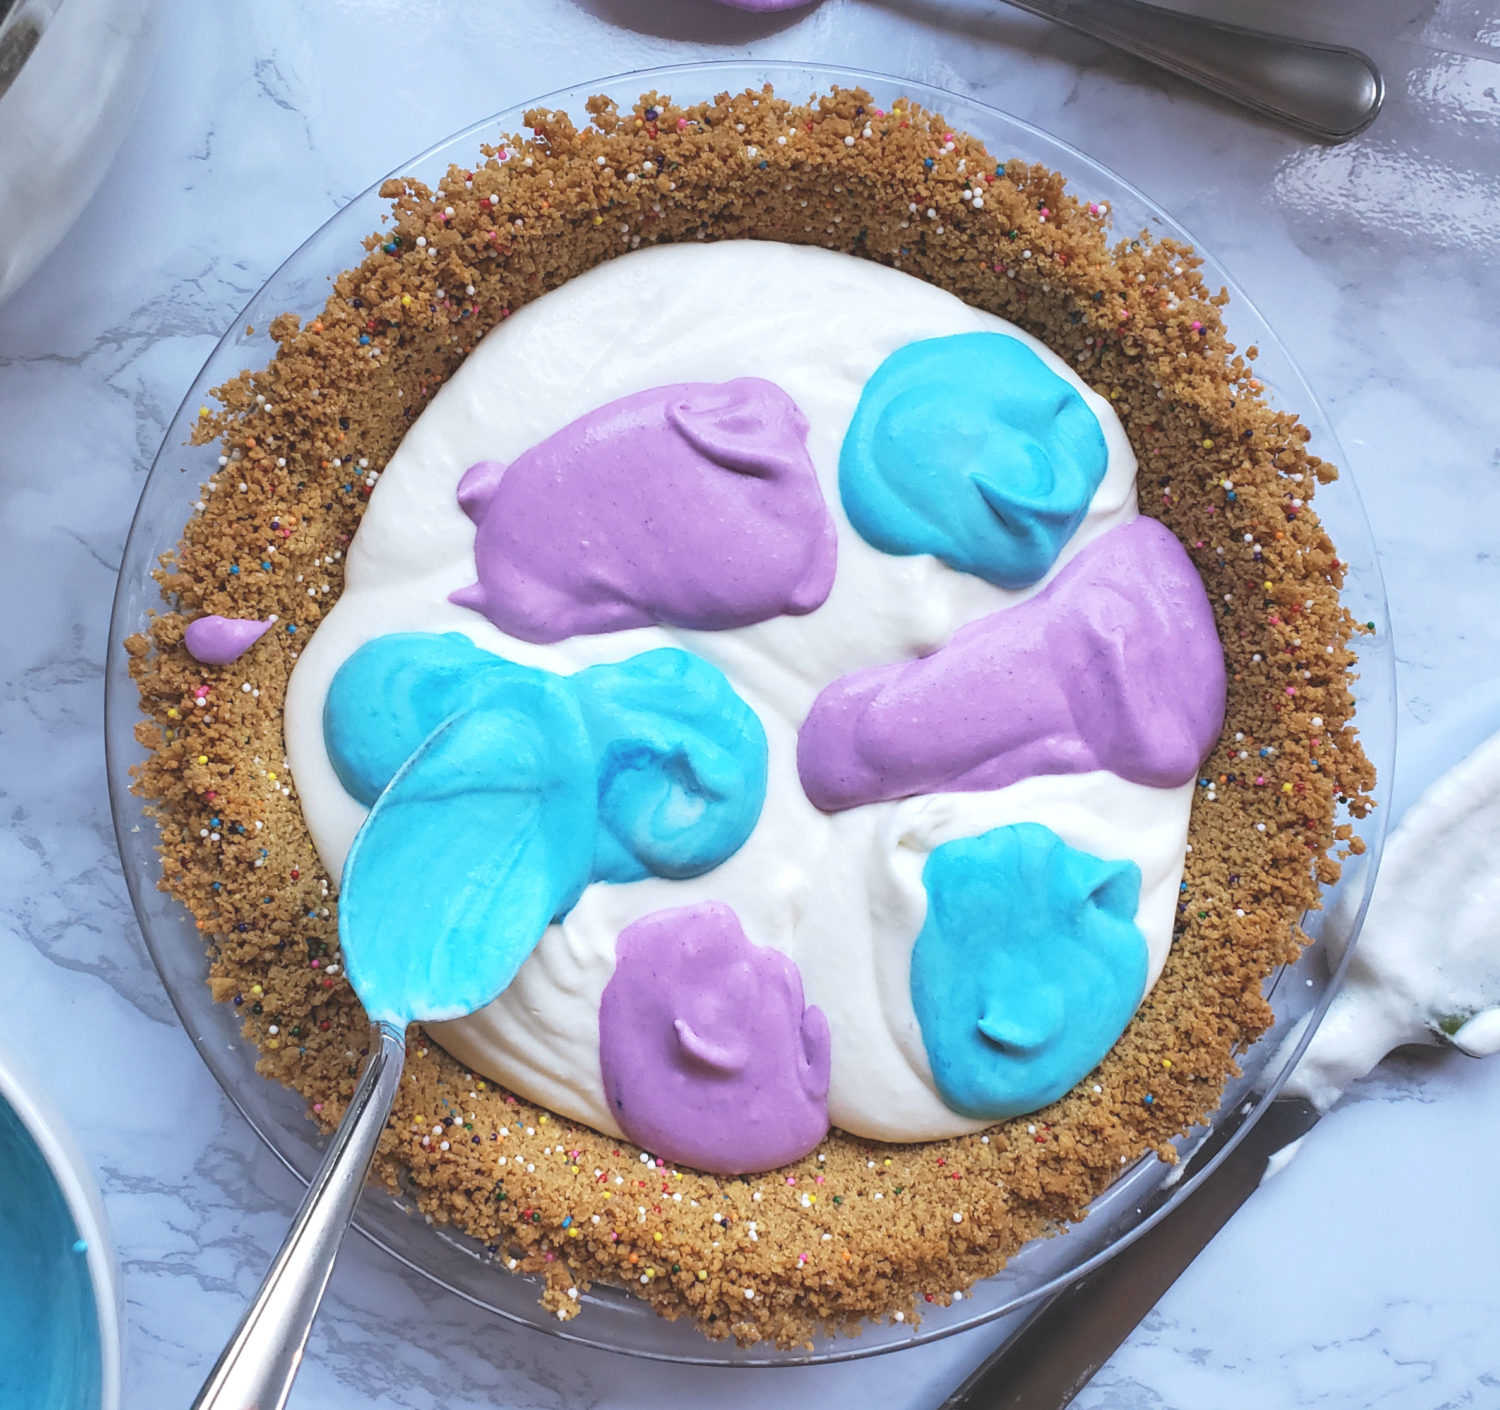
Now the fun begins. Measure 3/4 cup into a separate bowl to color purple and 3/4 cup into another bowl to color blue. Pour about half of the white into the pie plate and spoon in about half of each color.
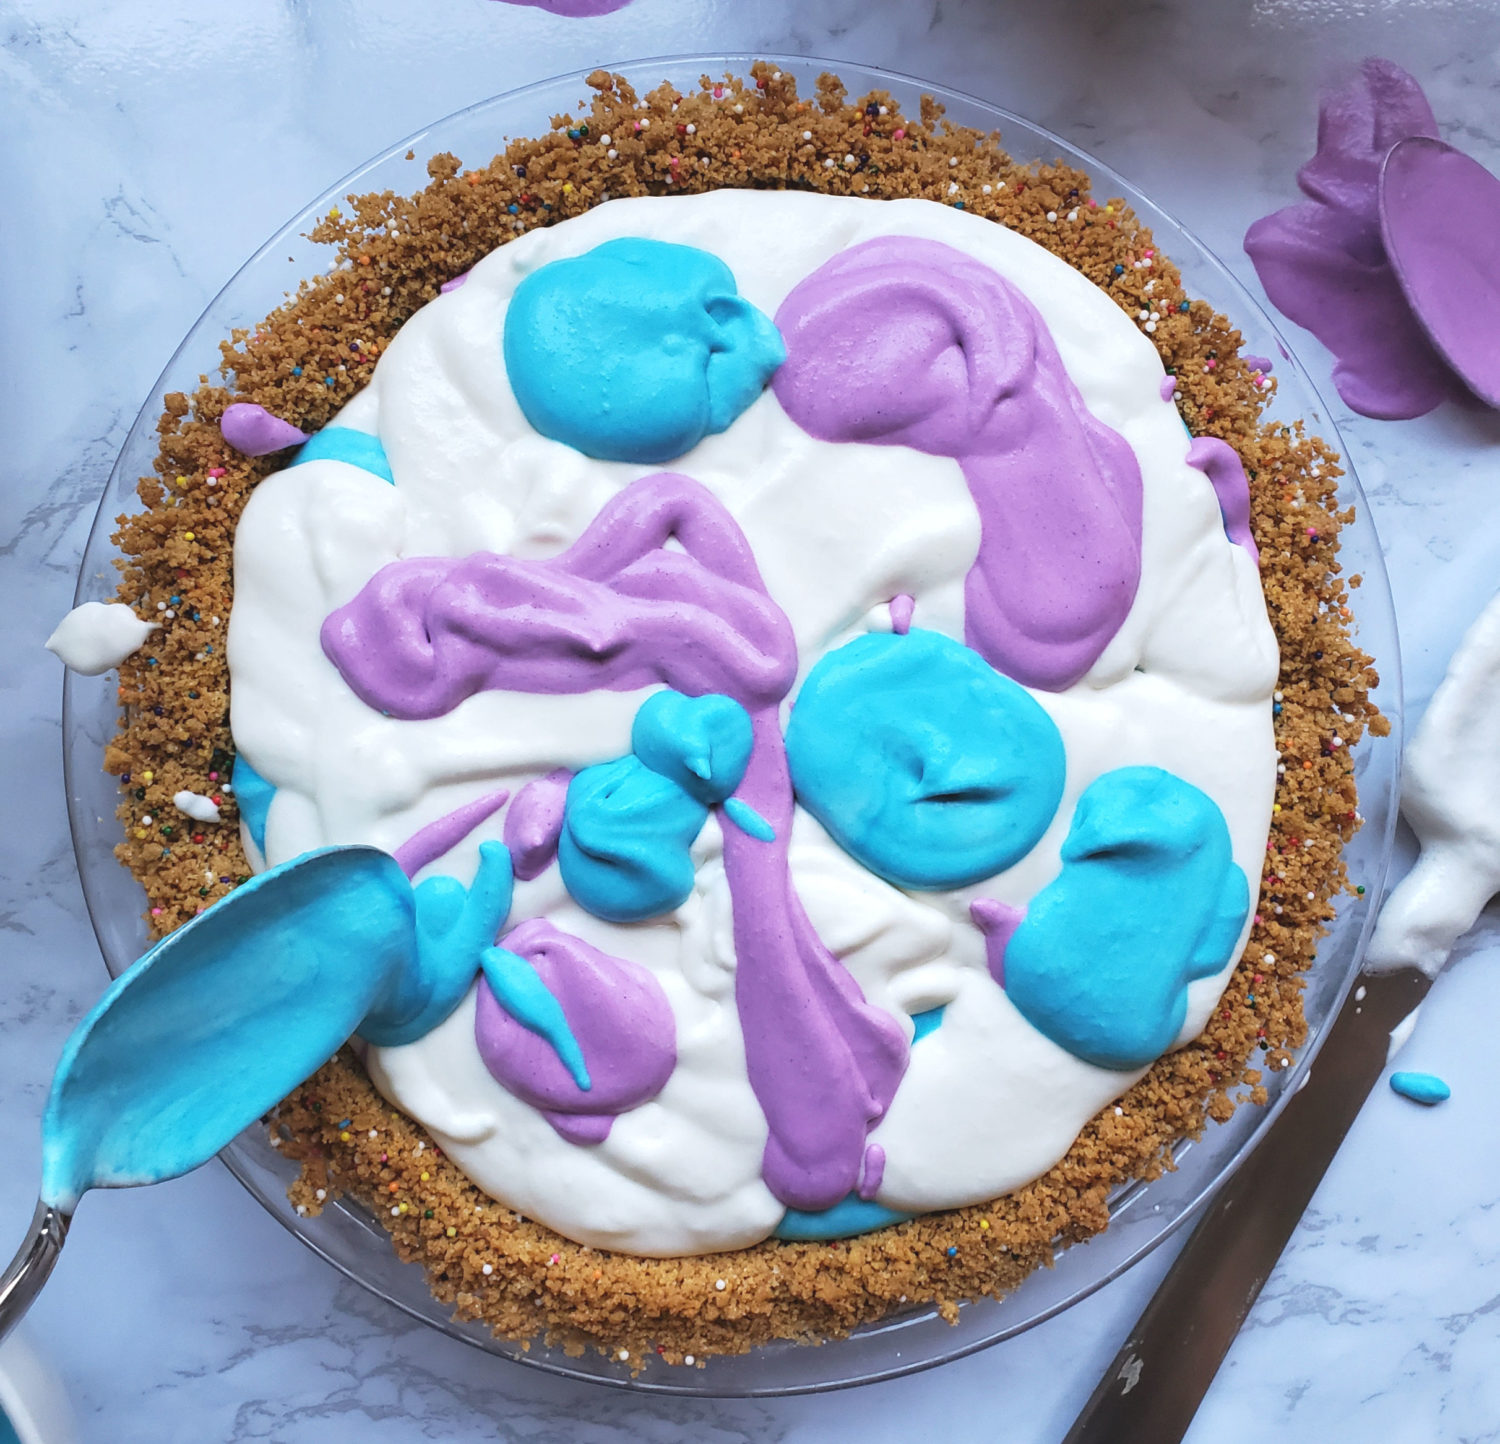
Repeat for the last layer.
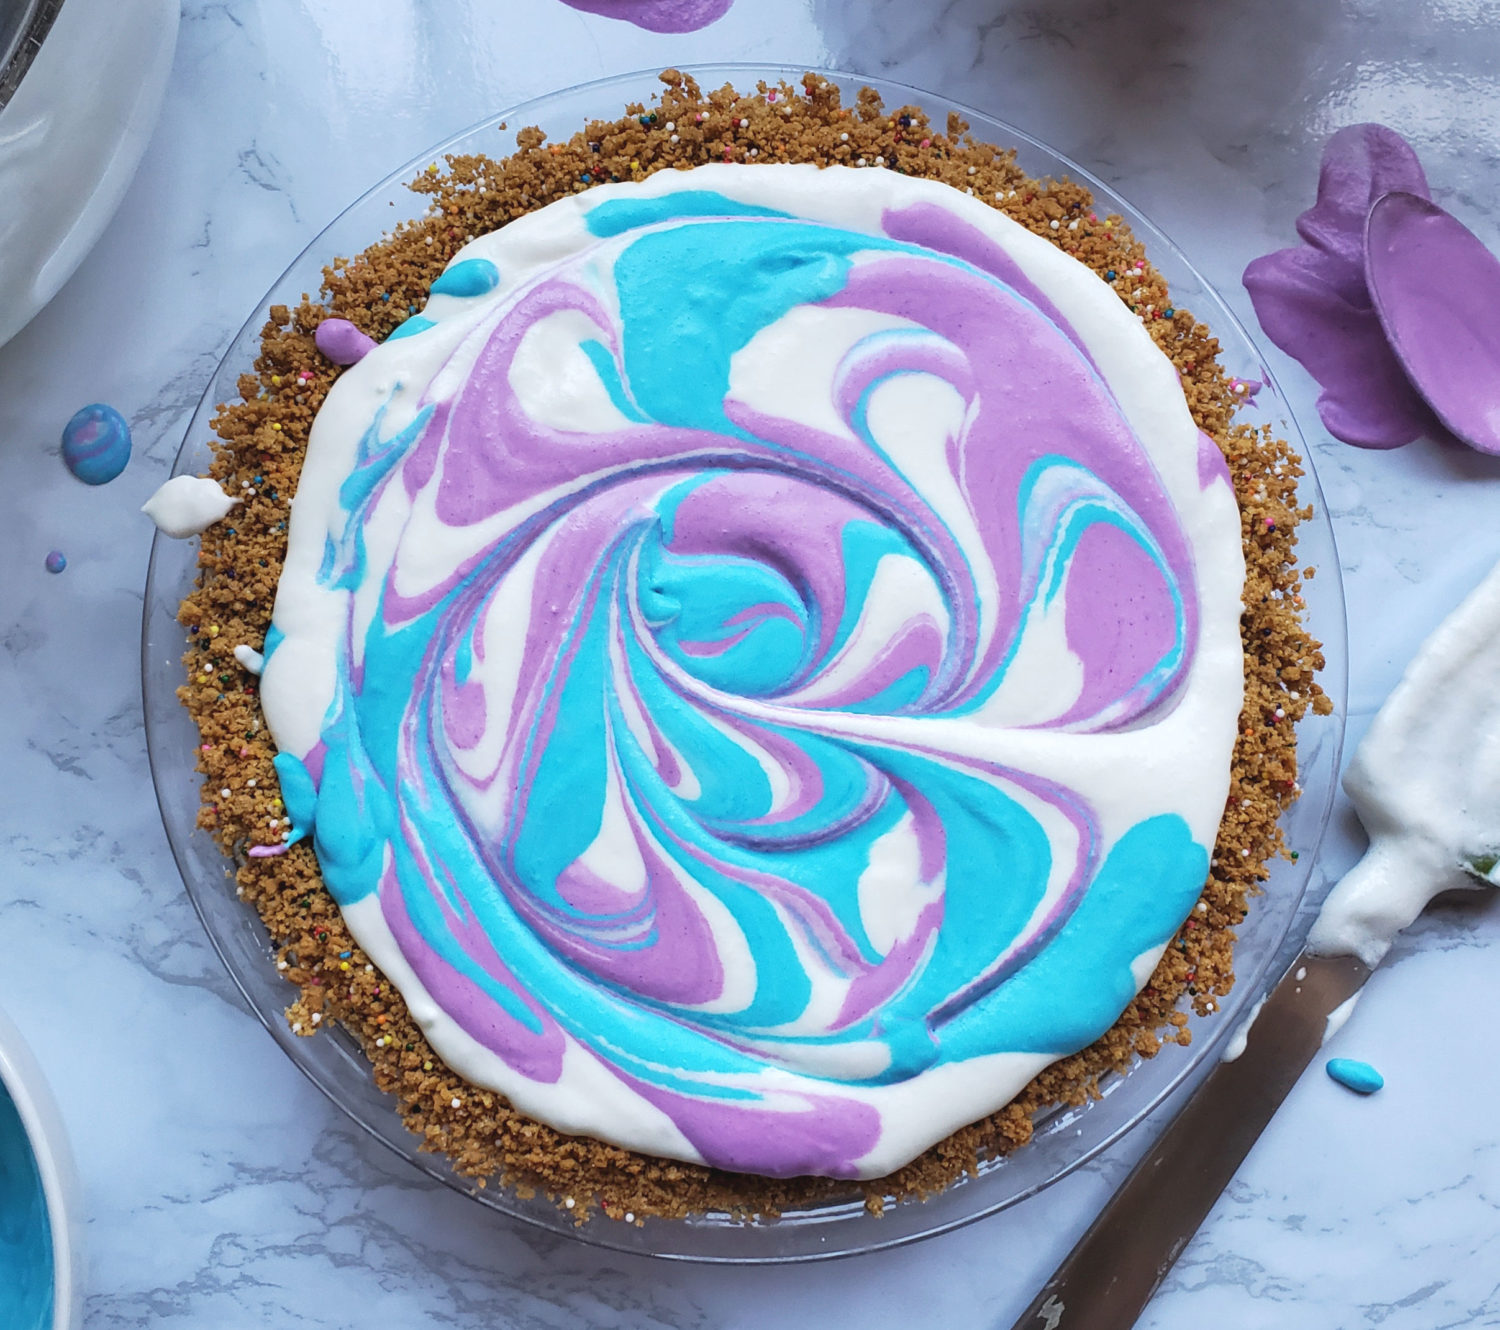
Take a butter knife and swirl through the entire thickness of the pie filling.
Refrigerate for a minimum of 8 hours. As the pie refrigerates it firms up into luscious creamy Marshmallow Moondust magic!
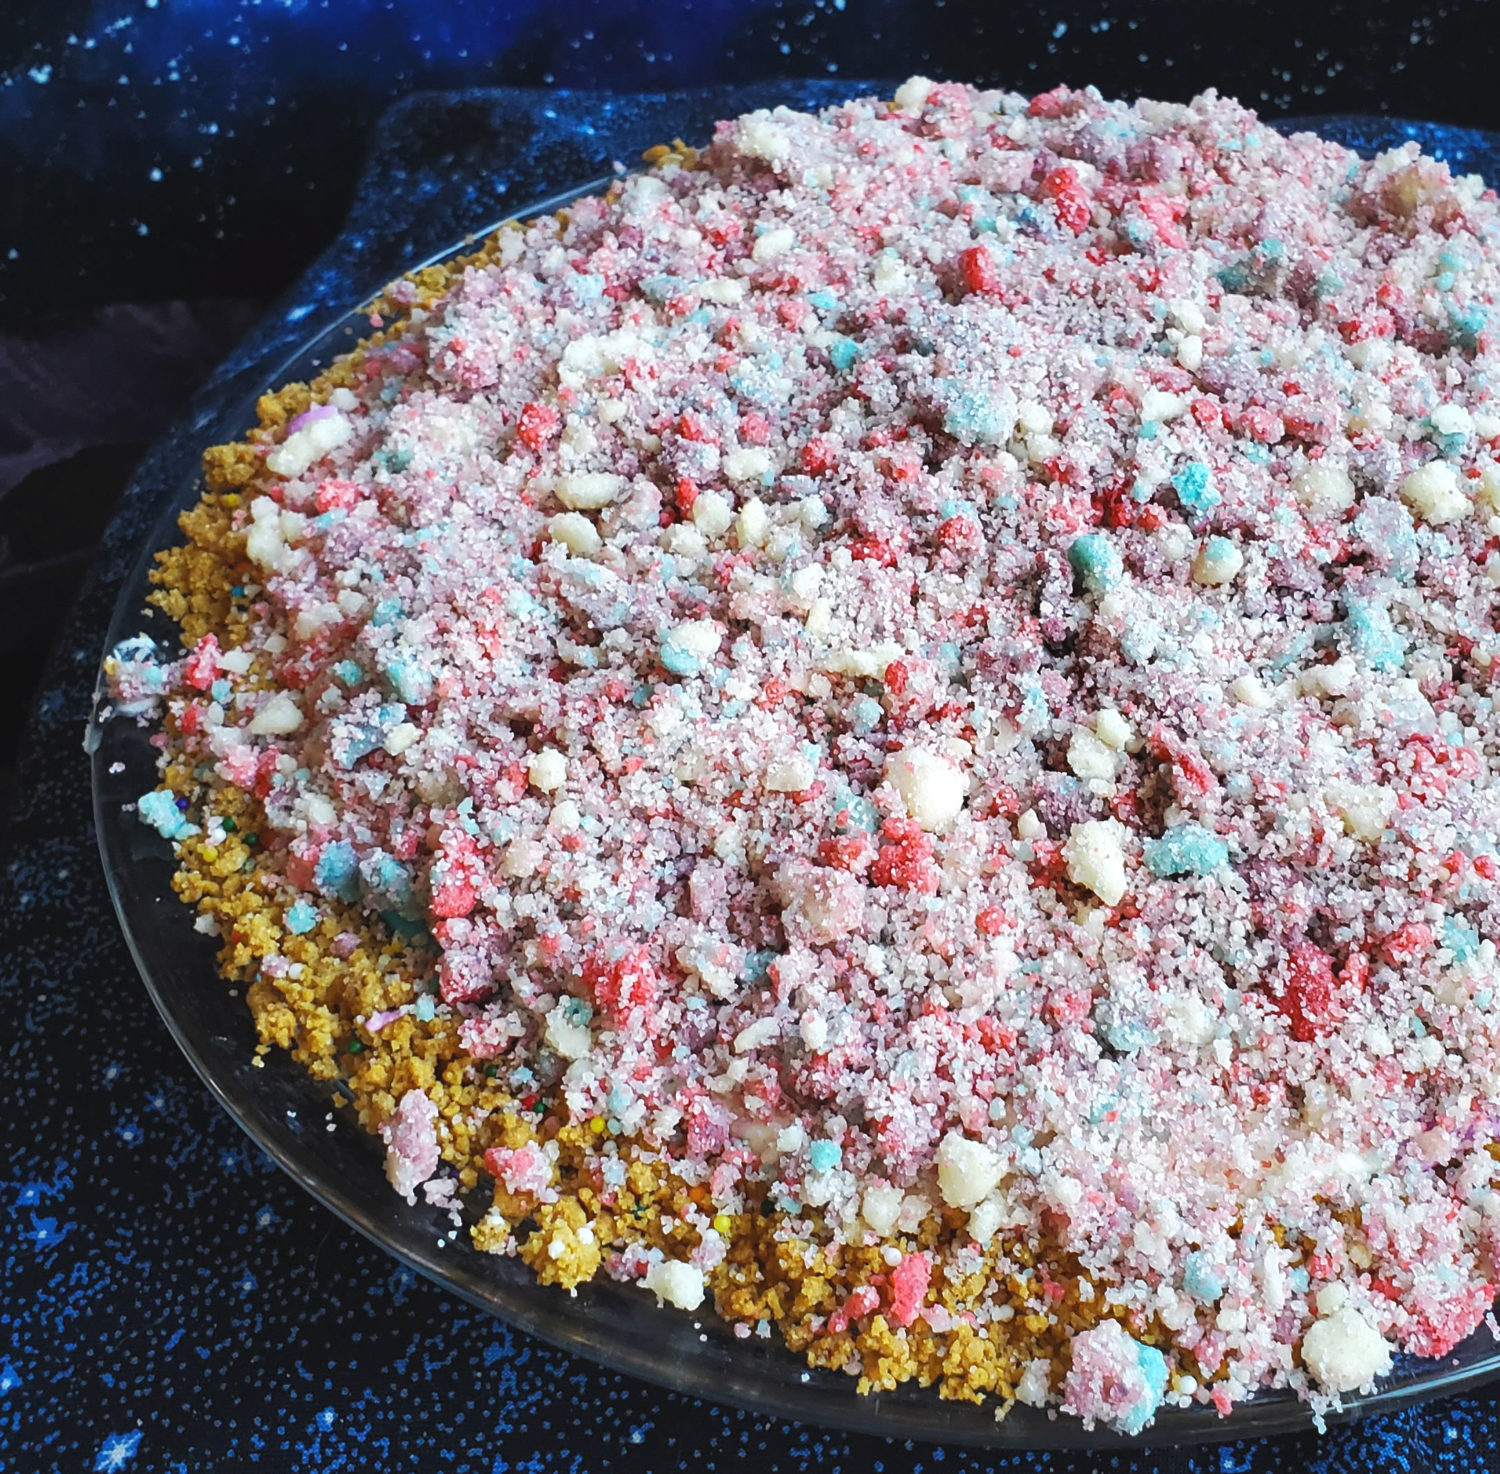
Top it off with your homemade moondust crumbles for the final touch and let the pie devouring begin!
I would love to hear about some Marshmallow Moondust Magic in your kitchens!
Marshmallow Moondust Pie
Ingredients
Marshmallow Filling
- 1 10 ounce bag (6 cups) mini marshmallows
- 1 cup milk
- 1 teaspoon vanilla
- 1-1/2 cups heavy whipping cream
Graham Crust with Sprinkles
- 1-1/2 cup graham cracker crumbs
- 1 tablespoon sugar
- 6 tablespoons butter, melted
- 1/3 cup rainbow sprinkles
Moondust Crumbles
- 2 tablespoons each dry gelatin mix: Grape, Strawberry, Blue raspberry
- 1/2 cup flour, divided (2 tablespoons for each gelatin flavor & vanilla)
- 2 tablespoons sugar or dry vanilla pudding mix
- 4 tablespoons butter, divided (1 tablespoons for each gelatin flavor & vanilla)
Instructions
Marshmallow Filling
- In a saucepan over medium to medium low heat add the marshmallows and milk. Stir constantly until the marshmallows are melted. This will take about 8 to 9 minutes.
- Pour/Scrape into a separate bowl and let cool in the fridge for about 15 minutes.
- In a large bowl, use an electric mixer (I like KitchenAid) beat the heavy whipping cream until stiff peaks form, about 4 to 5 minutes. Fold into cooled marshmallow mixture.
- Measure 3/4 cup into a separate bowl to color purple and 3/4 cup into another bowl to color blue. The remaining filling stays white.
- Pour about half of the white filling into the pie crust. Use a 1/4 measuring cup or large spoon and scoop the purple and blue fillings randomly onto the white. Pour the rest of the white filling and spoon on remaining colored fillings.
- Use a butter knife to zig-zag or swirl once or twice throughout the pie. Don't be concerned if you the top is not exactly as you want it as the moondust crumbles will cover the entire surface.
- Refrigerate for 8 hours or overnight. Add moondust crumbles before serving.
Moondust Crumbles
- Preheat oven to 350 F.
- In separate medium sized bowls, stir the individual gelatin flavors, plus 2 tablespoons flour and 1 tablespoon butter.
- Use a fork to make fine and crumbly.
- On parchment lined baking sheet sprinkle on the four flavors into each corner and spread out by hand. It's okay if the colors meet/slightly touch.
- Bake for 7 to 8 minutes at 350 F.
- Do not stir at all.
- Remove from oven and let cool completely (at least 1 hour) . If they feel warm, place the baking sheet in fridge or wait another 30 minutes.
- Crumble by hand. If you want finer crumbles cover with parchment and use rolling pin. Mix all together and store in an airtight container.
Graham Cracker Crust with sprinkles
- Preheat Oven to 350 F.
- In a medium sized bowl use a fork and stir the graham cracker crumbs and sugar together.
- Add the melted butter and stir together well. Add the sprinkles and press into a 9-inch pie plate.
- Bake for 5 minutes. Cool completely before adding filling.


I just made this, and I have to say the texture of my filling did not look like the picture! The melted marshmallow was frothy, but i feel like the milk still settled into just liquid at the bottom of the bowl when it cooled. When I added the gel coloring I feel like it seperated the filling a bit. Im not sure what I did wrong
The colors didn’t quite mix as well …however… it firmed up great and was really tasty and the kids loved it! So it was a hit regardless!
I have racked my brain if I did anything I did not put in the instructions. I do remember the milk/marshmallow looking like it wanted to separate so I just whisked it back together. The whipped cream does need to be whipped very stiff too. I will make those updates!! However, I am glad they liked it!
Looks SO fun! I will have to make it for Daisy!