
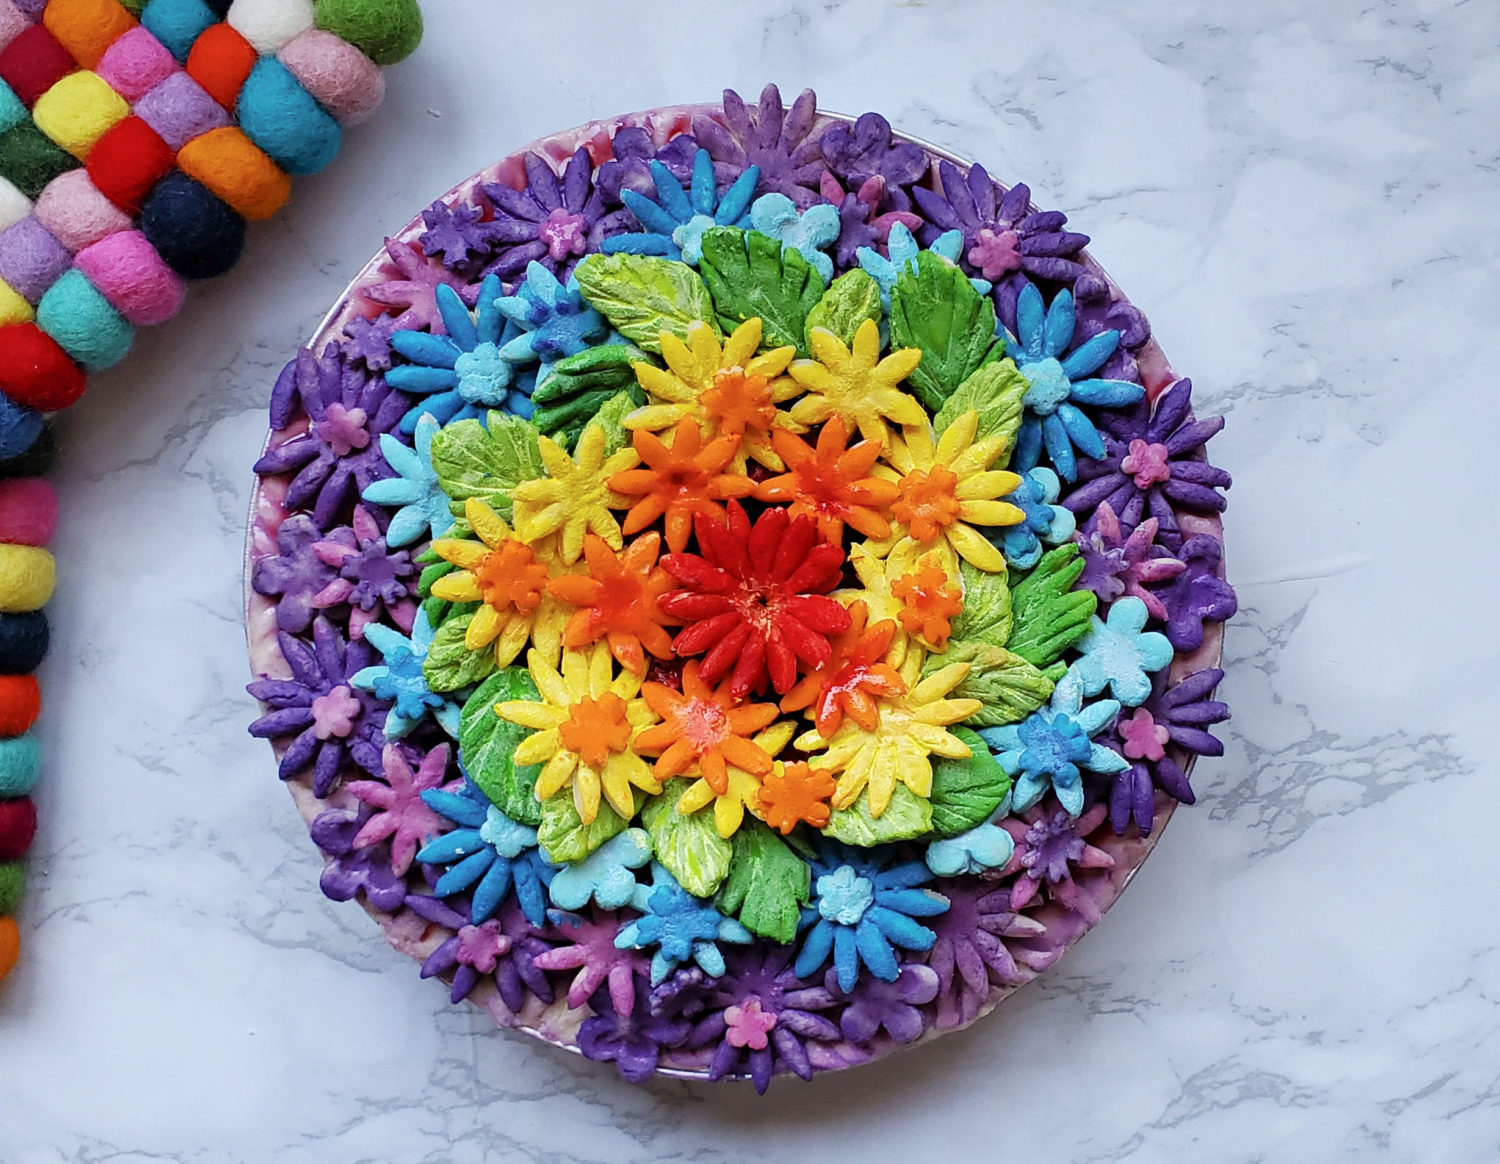
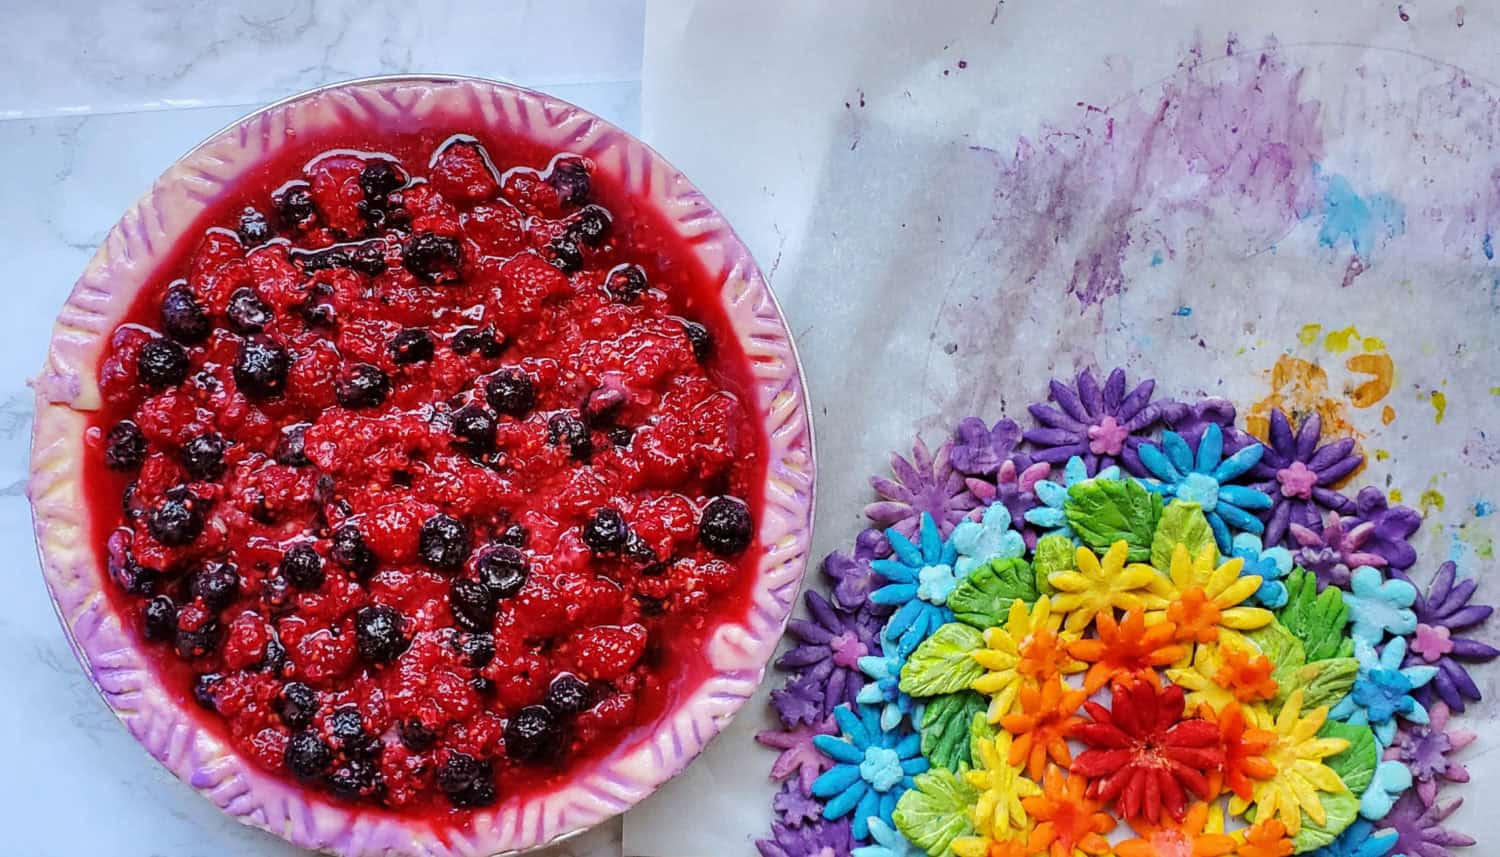
It doesn’t have to be June to show your love with a Pride Pie. Choose any fruit filling of your choice (I went with red & black raspberries) and top it with your Pride Pie crust topper. It’s that simple and festively delicious! The baked version below did remarkably well in the oven. I did learn that purple needs to be “brighter” with the next pie.
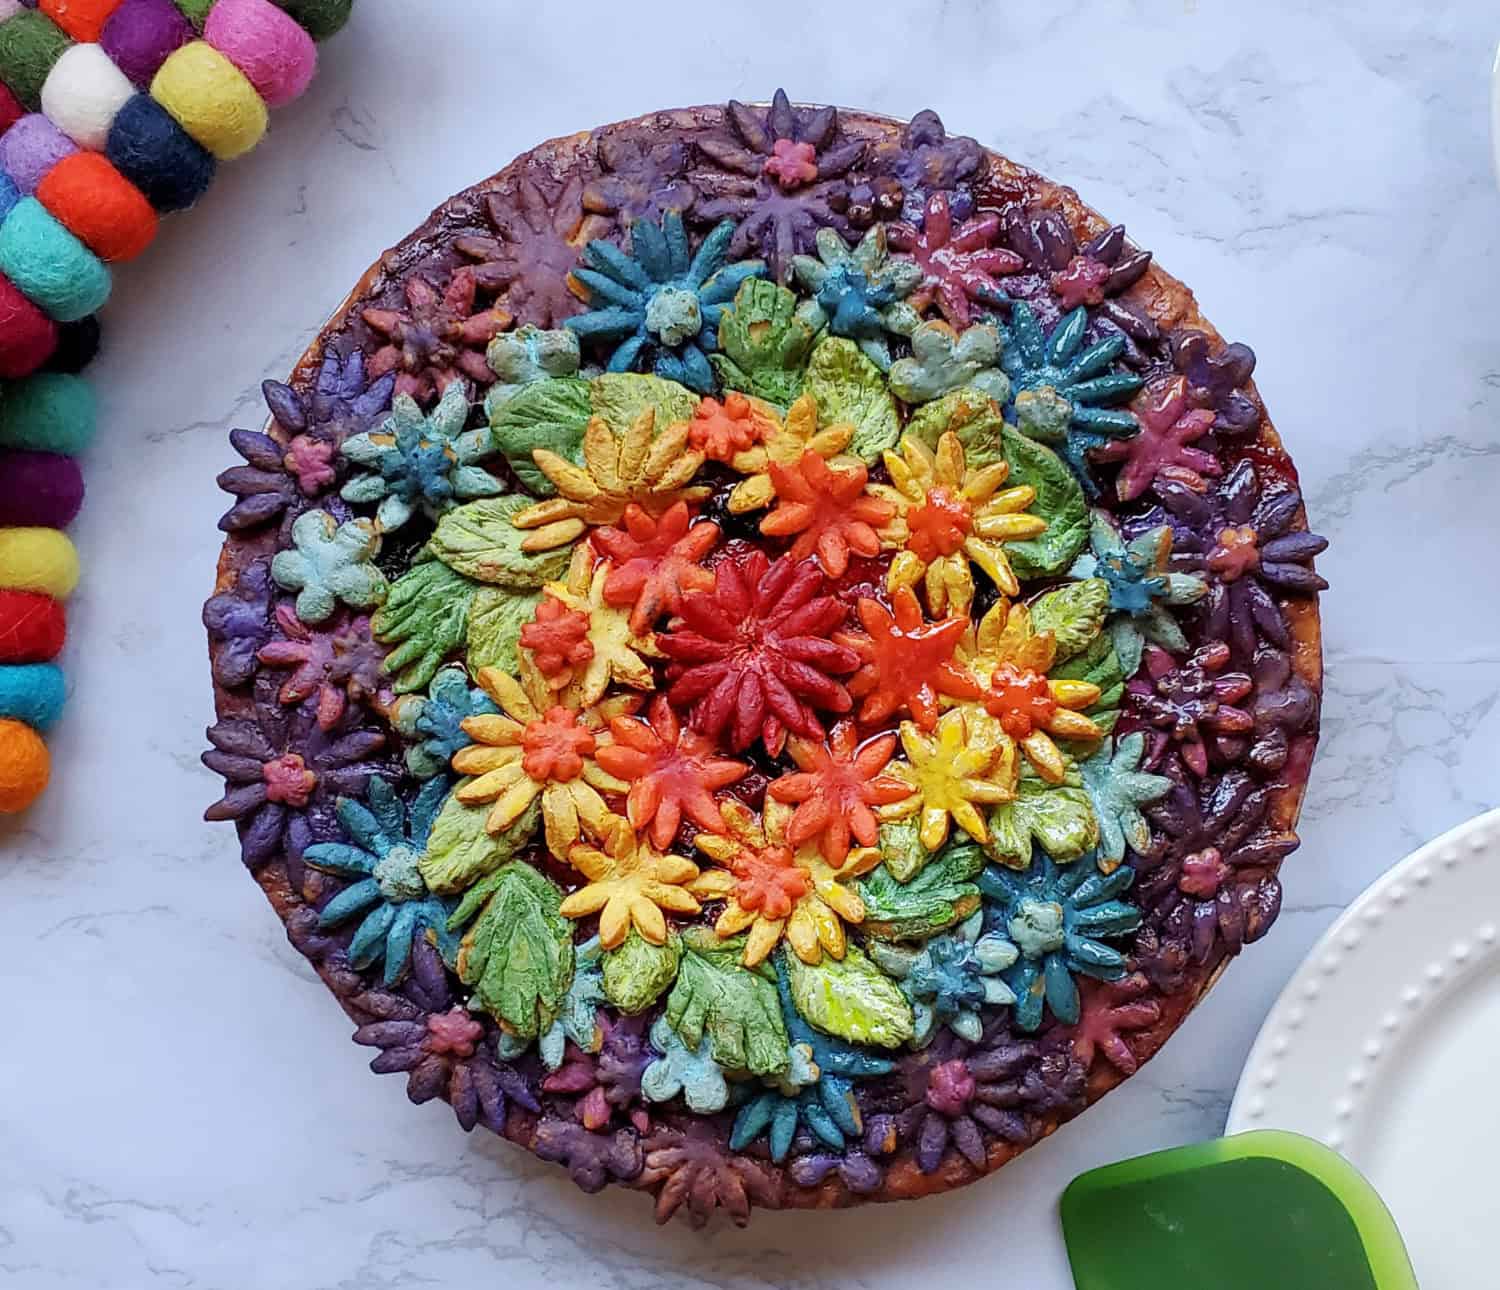
We will talk about shiny sheen vs. opaque later; I preferred the shiny to brighten up the colors, but it’s not needed. Thank you simple syrup!
List of Supplies:
- White gel food coloring (this is a must for the blues/purples)
- Assorted other colors: Sky blue, Lime green, Christmas red, Violet, Pink, Yellow, Orange
- Food safe paintbrush
- Parchment paper
- Assorted sizes/types of flower & leaf cookie cutters
- Custard cups
- Simple syrup (optional)
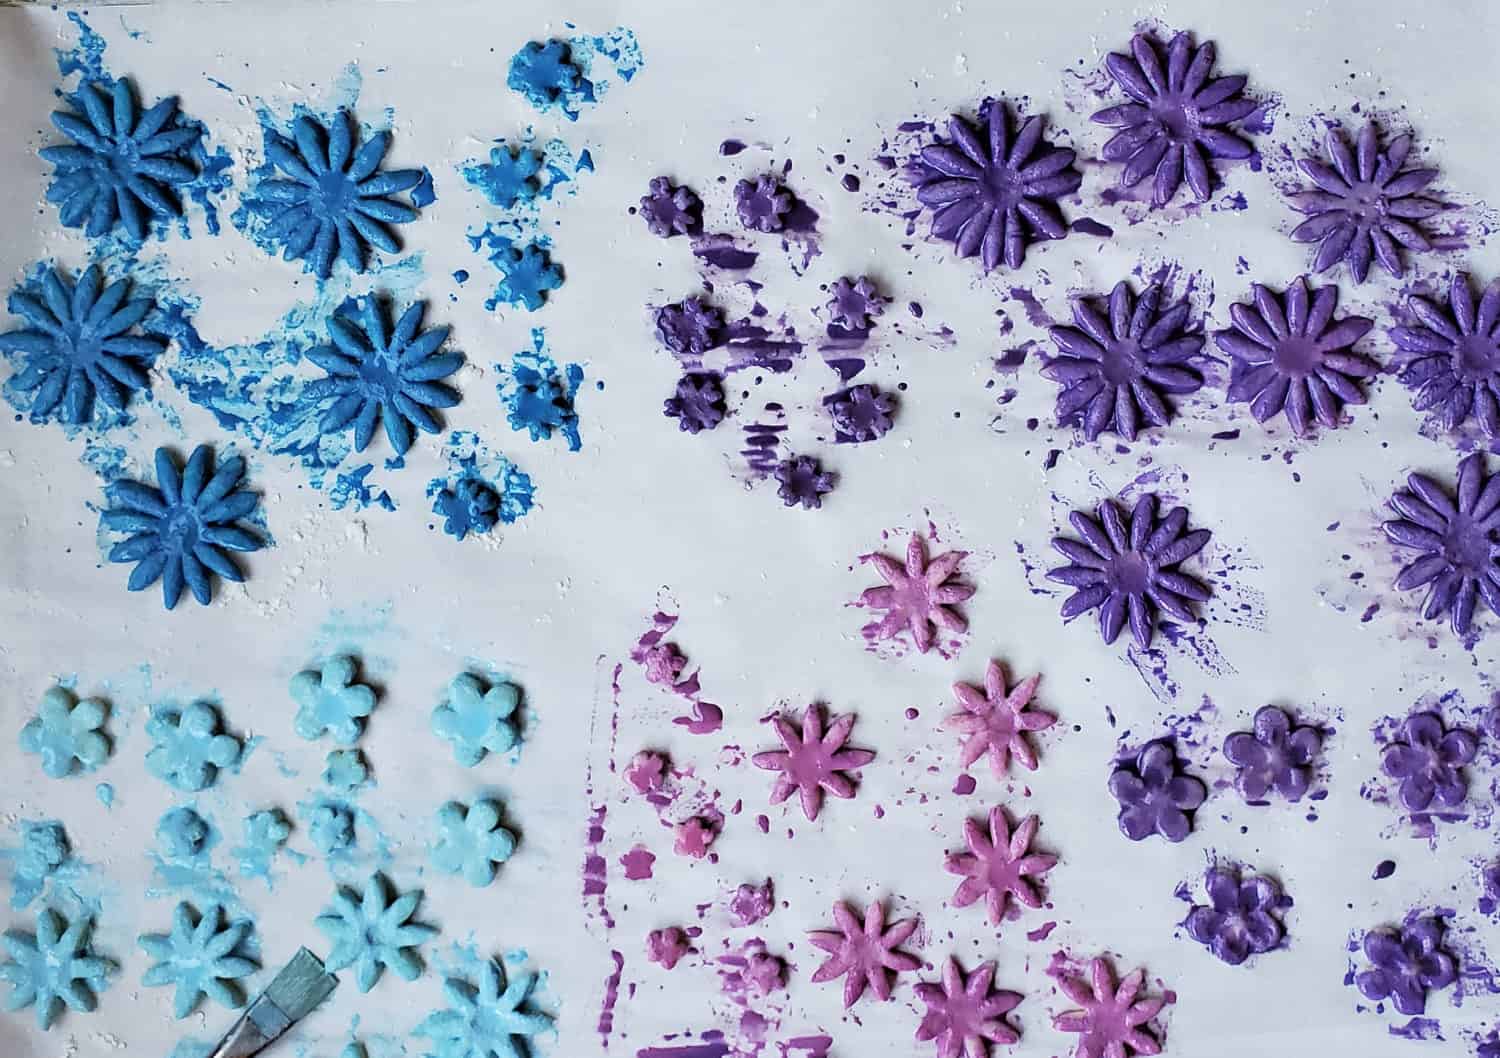
In the custard cups, mix one light and one darker color for each flower for a two-tone gradient rainbow. The dark purple looks great raw, but I should have made it lavender with more white food coloring. Roll out the pie crust dough on a heavily flowered surface and cut out flower shapes. I used 2 to 3 sizes for each color. KitchenAid makes great baking utensils including pastry brushes.
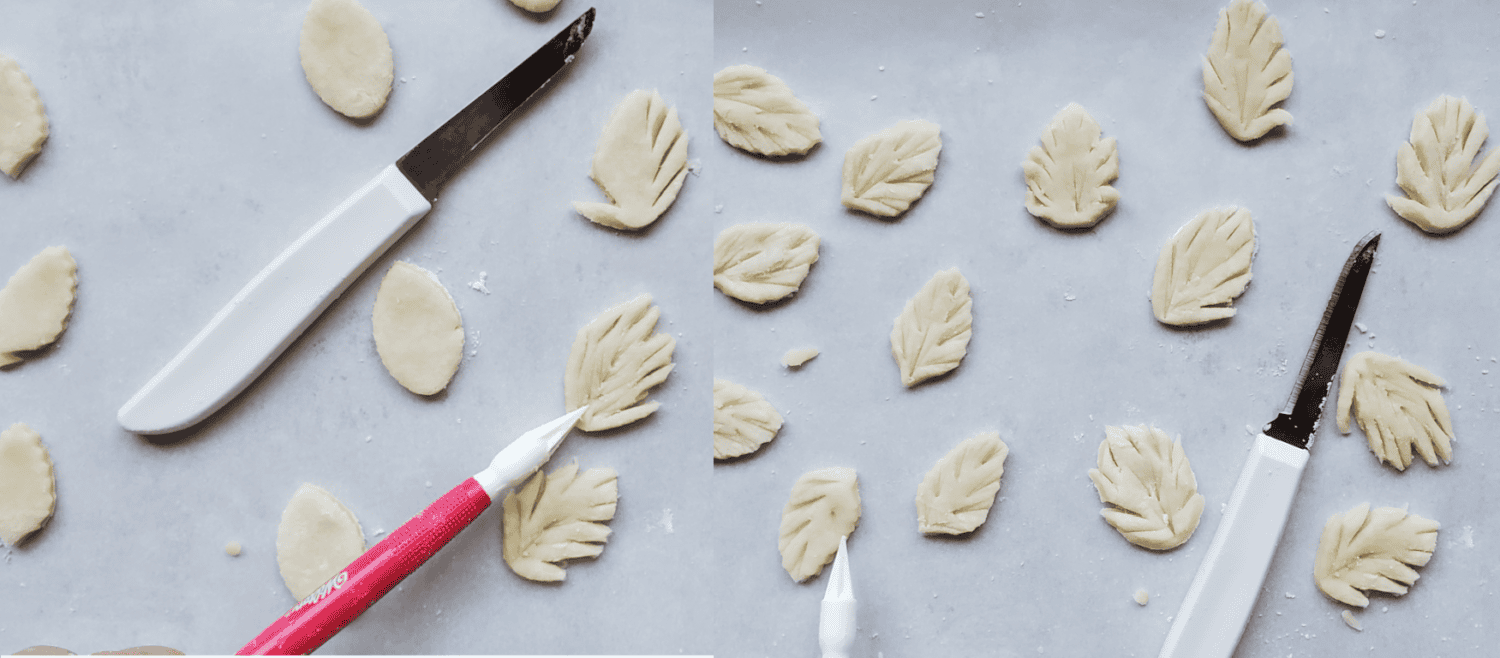
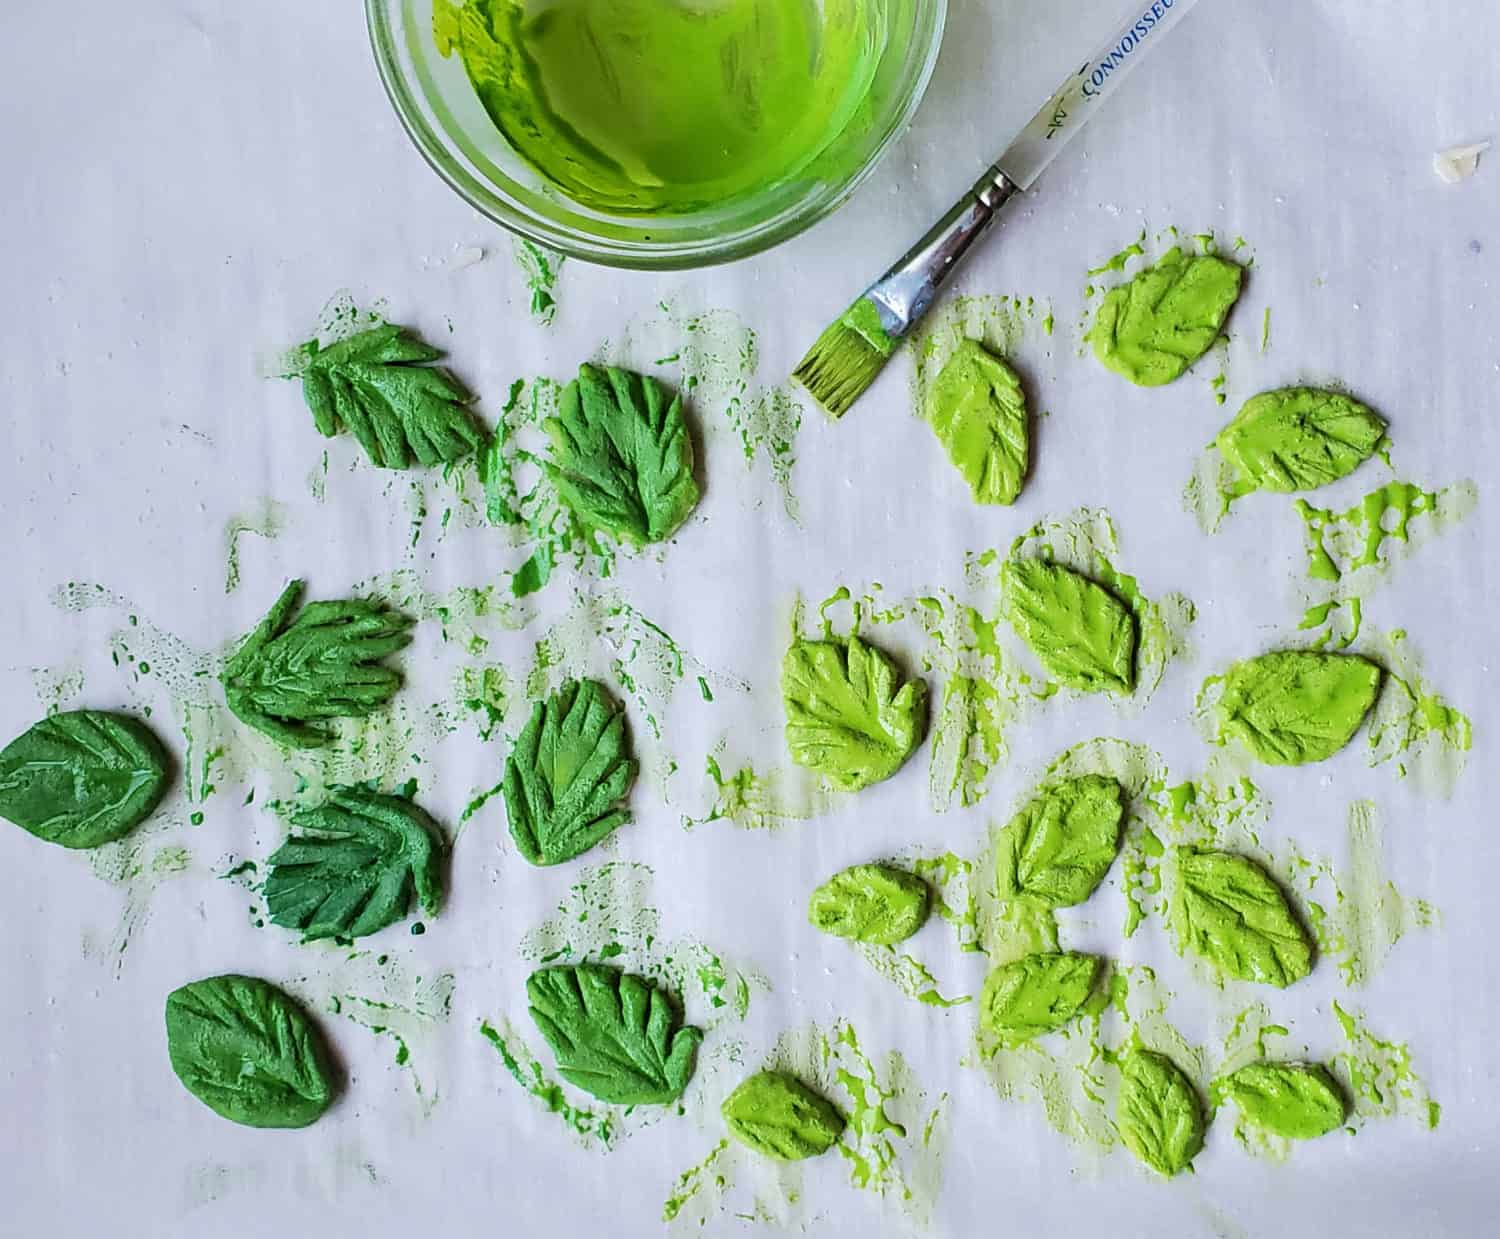
For the leaves, cut them out and use fondant tool and/small knife to make cuts and imprints.
NOTE FOR GLUTEN FREE CUTOUTS: After gluten free crust is rolled out onto parchment it needs to be frozen for about 20 minutes BEFORE cutting flowers/leaves. Otherwise it will tear and flower petals will get stuck in cutters. Bob’s Red Mill 1 to 1 Gluten Free flour is fabulous, I also use his products when I make my own Gluten Free Pie Crust Flour.
How Many Cut Outs Per Color Ring:
- 10 large flowers & contrast color for outer ring of flowers (mine is purple), plus 8 medium size of each color.
- 7 large flowers & contrast color for blue ring.
- 10 light green & 10 darker green leaves (depending on size you choose).
- 6 large yellow flowers, 5 medium, use orange as contrast for flower centers
- 6 or 7 medium sized orange flowers
- 1 large red flower
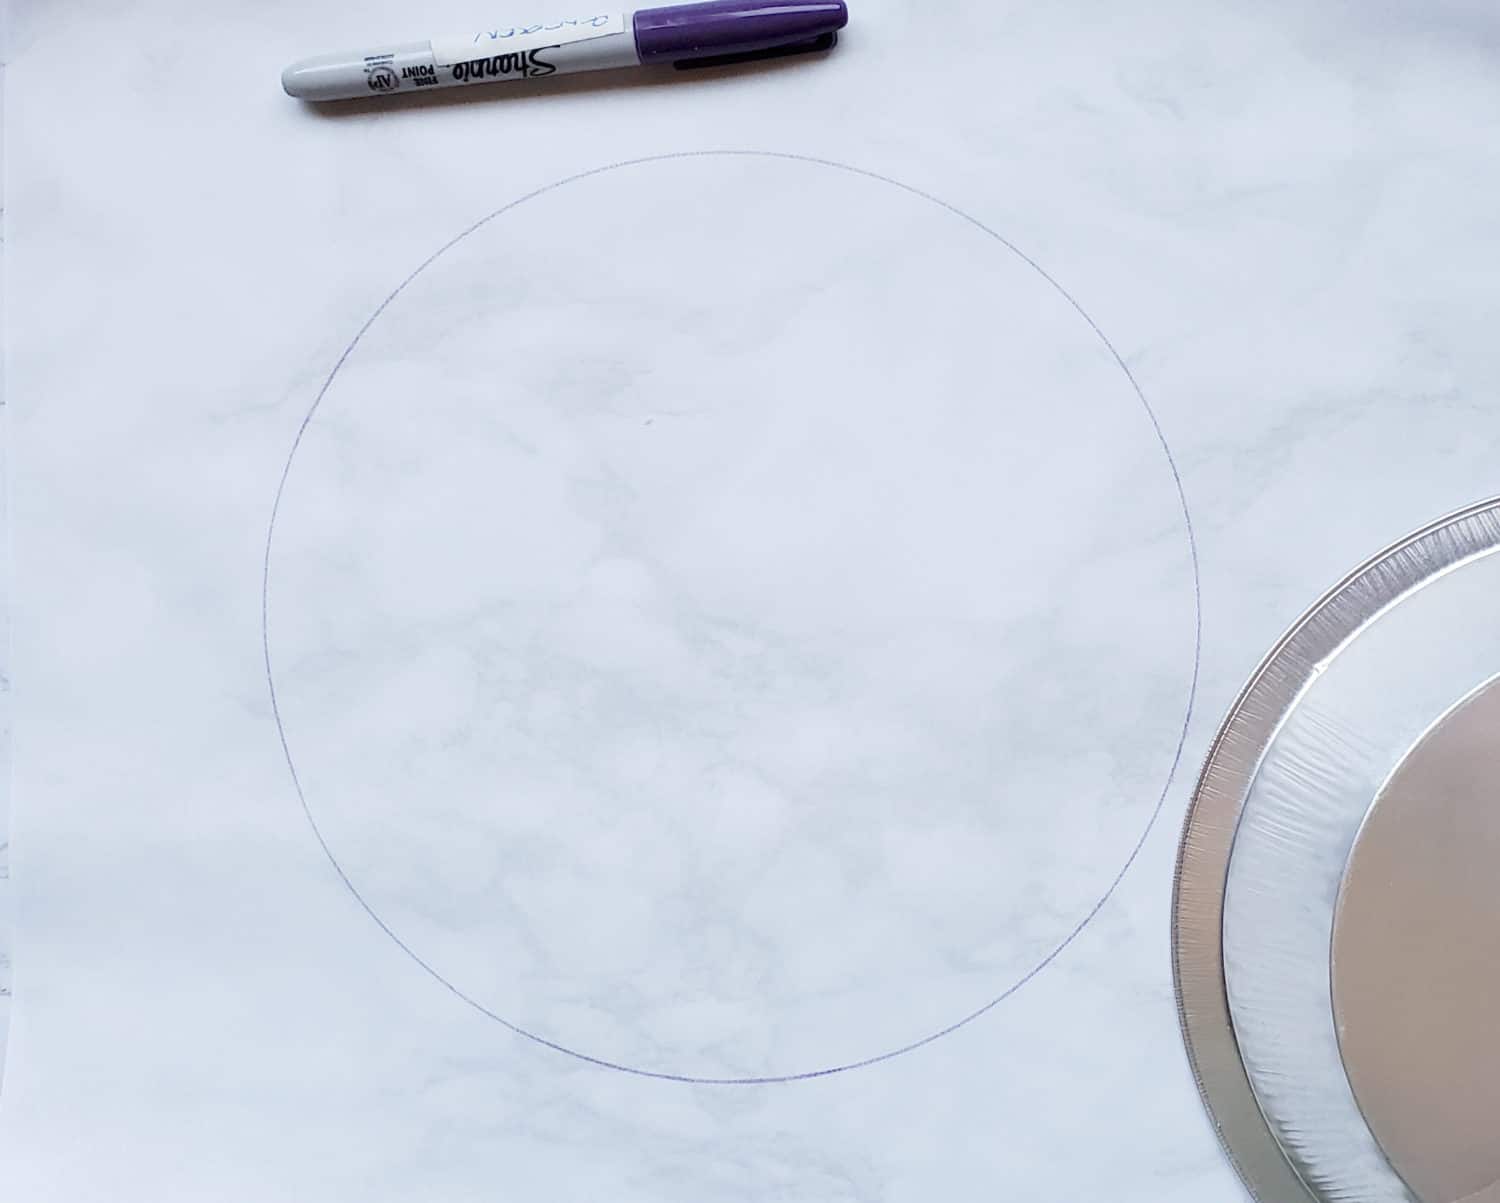
Trace the pie plate you are using onto parchment and invert. Place on a baking sheet that will fit in your freezer. Build your flower rainbow ring starting with purple, adding contrast pieces as you go. Once completely built pop in the freezer for about 30 minutes.
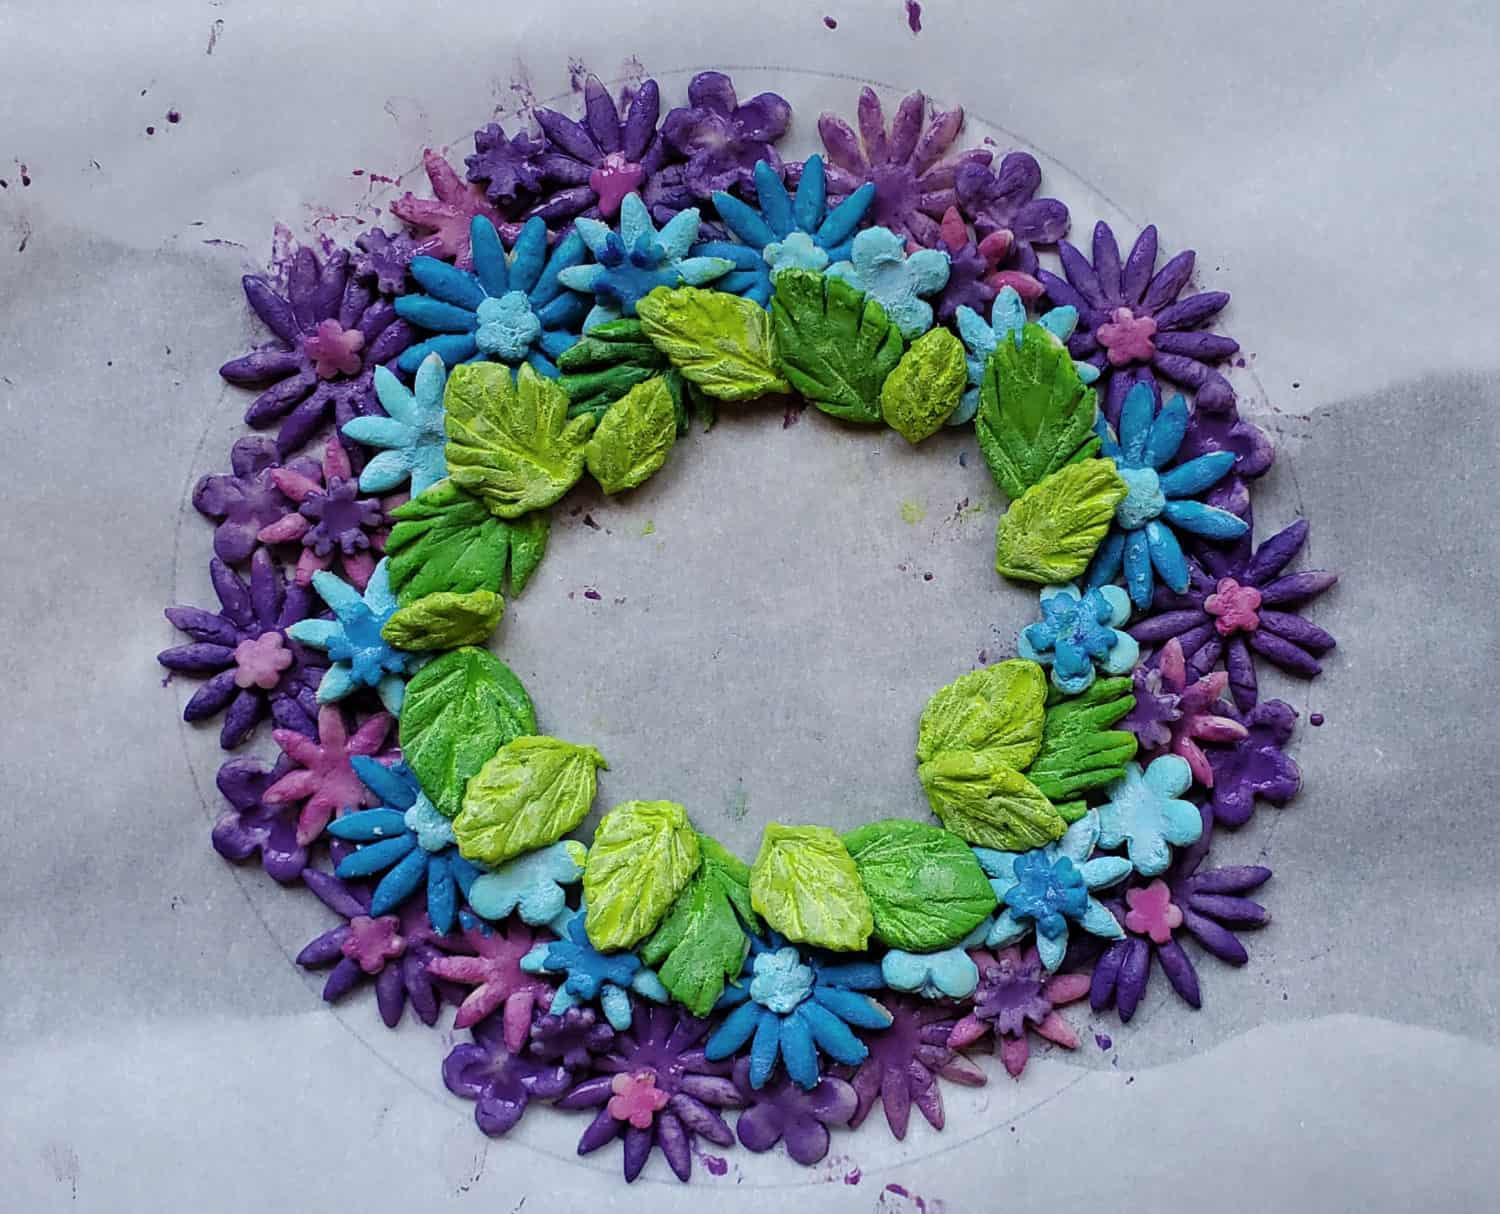
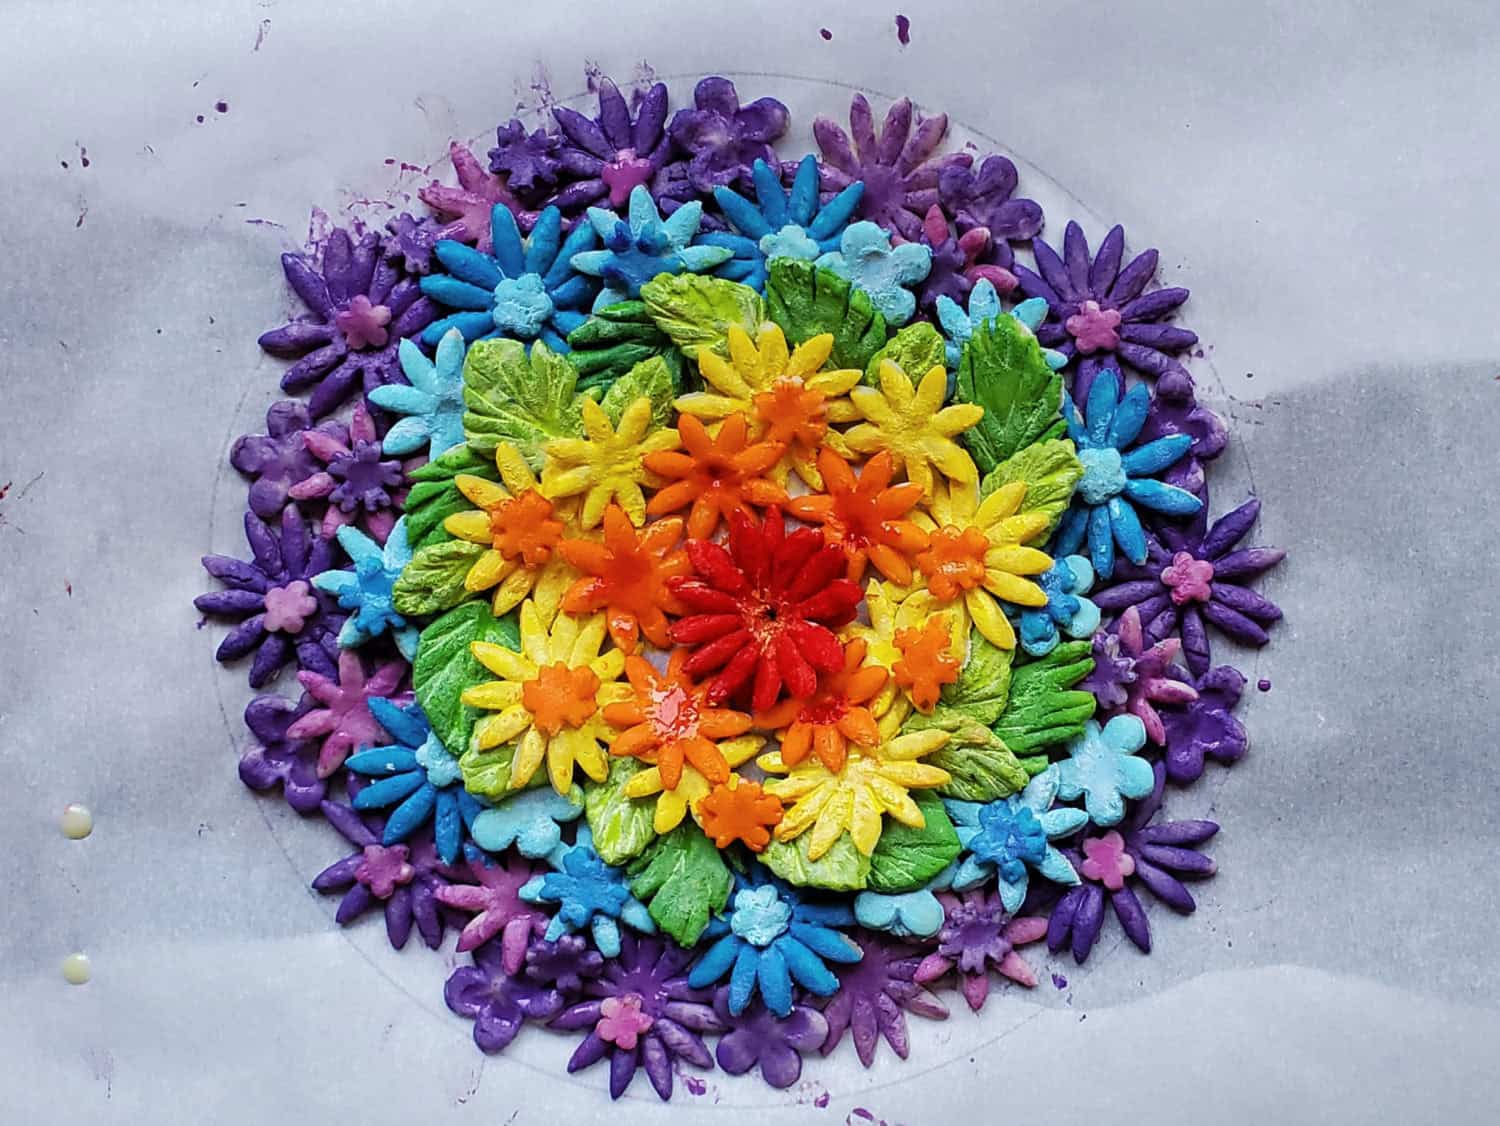
While the pie topper is freezing, add your filling to the bottom crust. Brush on some of the pink or purple food coloring around the edge (or color you chose for outer ring). Careful slide the frozen pie top onto top of pie and bake for 75 minutes @ 350 F.
I brought the finished Pride Pie to my group of friends at the Asylum Food Carts in Portland, Oregon to share. As there is not currently a dessert cart, I didn’t feel too terrible. I hope the folks at Asylum don’t kick me out if they read this!
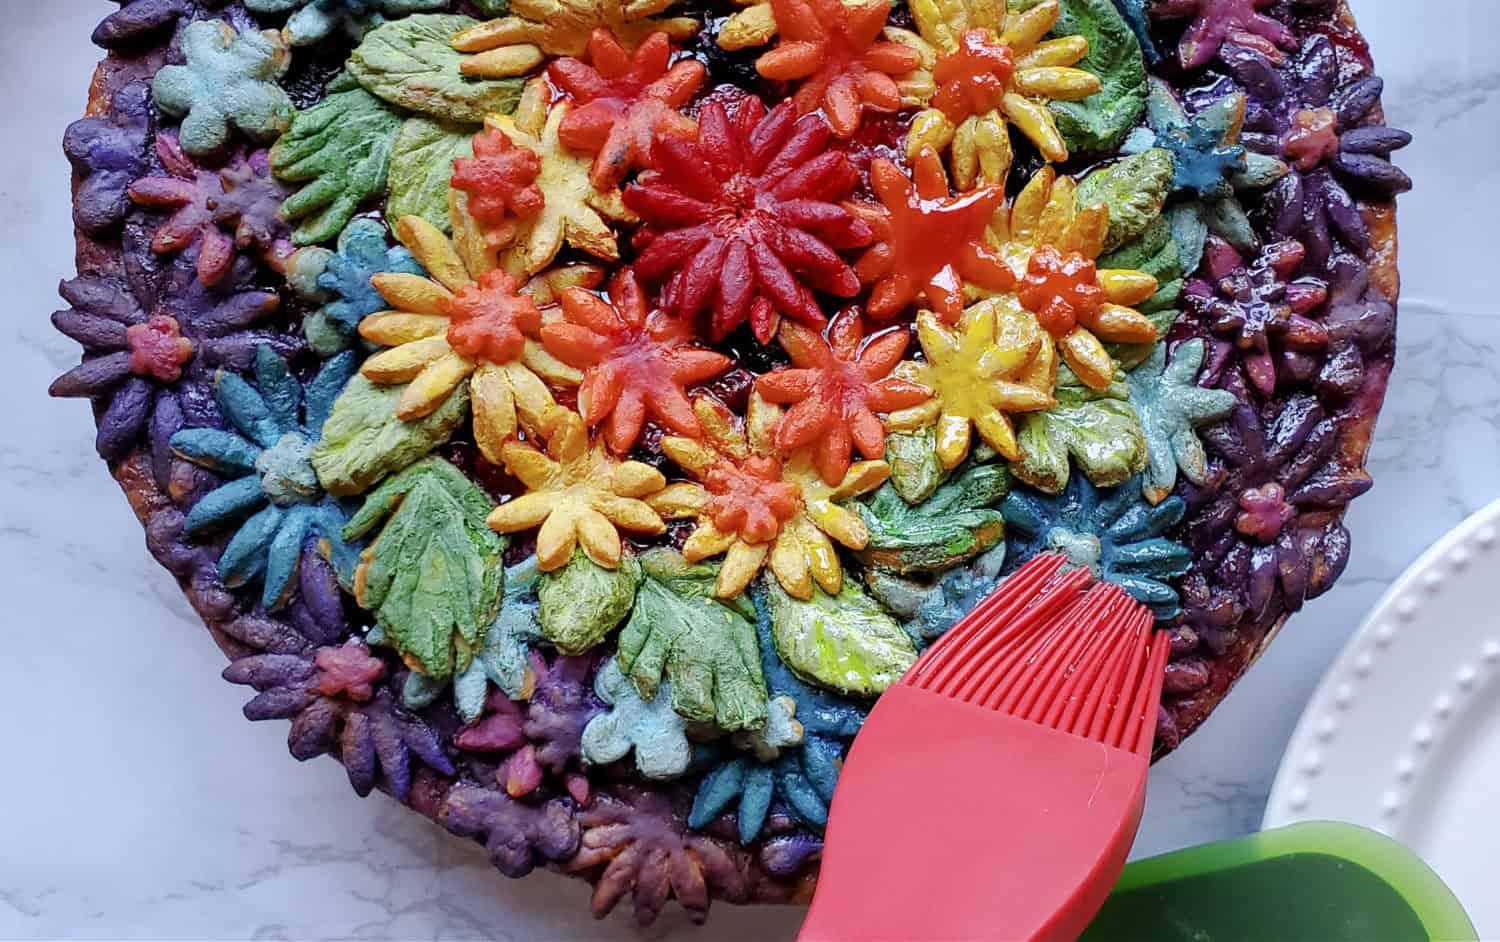
I preferred the shiny sheen as opposed to the more opaque look, but this was a personal preference. It is beautiful either way. And to all of my beautiful pie peeps, happy pie baking and creating. Peace and love to all.

Pride Pie – Show Your Love!
Show your love with a Pride Pie topper! Choose your favorite filling and paint with abandon in creating this work of art!
12
2
hours30
minutes60
minutesKeep the screen of your device on
Ingredients
- Grandma's Pie Crust
2 cups all purpose flour
1 cup shortening
2 tablespoons sugar
1/2 teaspoon salt
1/8 teaspoon baking powder
1/2 cup very cold water
- Any Fruit Pie Filling
5 cups fruit pie filling (1 recipe usually consists of about 5 cups of filling)
Directions
- Pie Crust Dough
- In a large bowl, stir all of the dry ingredients together. Use a large serving fork or pastry cutter and cut in the shortening (or butter) until crumbly.
- Add the cold water all at once and stir a few times, just until forms a ball (do not kneed or over mix).
- Before you roll out dough for pie plate, use your pie plate to trace a circle onto parchment, invert it, and set aside.
- Divide dough in half (this will be rather soft). Roll out one half on heavily floured counter top about 1 to 1-1/2 inches wider than pie plate. Roll up dough onto rolling pin and unroll onto pie plate. Cut off extra dough and set prepared bottom crust aside for filling.
- Pie Crust Flowers
- Add white gel food coloring to each cup for color (about 1 tablespoon). Add 2 teaspoons of water. Add color and mix for desired "darker" color. Now, poor a tiny bit of the darker color into a custard cup that has only the white food gel and water. Adjust colors with more color or white food coloring. Remember, the blue & purples bake darker.
- Roll out about 1/3 of remaining dough on a heavily floured surface. Cut out the number of flowers/shapes, shape the leaves, etc., and place onto parchment lined baking sheets.
- Use a food safe brush to paint on the colors for flowers and leaves. Place painted cutouts on baking sheet into refrigerator for about 15 minutes for ease of building pie top.
- Assembly & Baking
- Preheat oven to 350 F.
- Place the parchment with the inverted circle drawn onto a baking sheet that will fit into your freezer.
- Start with outer perimeter; adding the flowers & overlapping a little as you go. You will overlap a little of each layer of colors onto the next.
- Once finished, place in freezer for 30 minutes and prepare pie filling if needed.
- Brush the edge of the bottom pie crust the coordinating color of your outer ring. Add the pie filling. Carefully "slide" the frozen pie top onto pie plate.
- Bake for 1 hour at 350 F.
- If you want the baked pie top, carefully brush on simple sugar (if you brush too hard the colors will flake off as it is a very tasty, but flakey, pie crust). (Simple syrup is 1 part each water and granulated sugar, heat just until sugar is dissolved).
Recommended Products
- White gel food coloring (this is a must for the blues/purples)
- Assorted other colors: Sky blue, Lime green, Christmas red, Violet, Pink, Yellow, Orange
- Food safe paintbrush
- Parchment paper
- Assorted sizes/types of flower u0026amp; leaf cookie cutters
- Custard cups
- One 9-inch pie plate
- Simple syrup (optional)











Hello Portlandia Pie Lady! My name is Lynell and I’m the social media director for the Lift+Love foundation. We provide resources (support groups, podcasts, family profile stories, suicide-prevention training, etc) for LGBTQ families. With “pi” day coming up on March 14th, I’ve been looking for a fun visual to use to celebrate the day and came across your beautiful rainbow pride pie. I would love to feature your pie on our social media page @liftandloveorg on March 14th and we would of course give you credit for the image & provide a link to your site. May I have your permission to share the photo on our social media for “pi” day?
PS- I live in Longview, WA and visit Portland often!
I am SO sorry I missed this. Feel free to use it anywhere you want in June. I made this specifically for LGBTQ community. I am going to send you a private email.